Online-Booking is a great way to book more jobs. Customers can book your service directly from your website and your social media channels.
Setting up online booking is a two-step process. First, customize your settings, then add your services in the Price List section.
1) To get started, click on the Add-ons icon in the top navigation bar, then choose Price-book from the menu.![]()
2) Next click on the online booking section. Online booking is available on the Grow Plan, upgrade if needed.
3) Enable online booking by selecting enable in the top right corner.
![]()
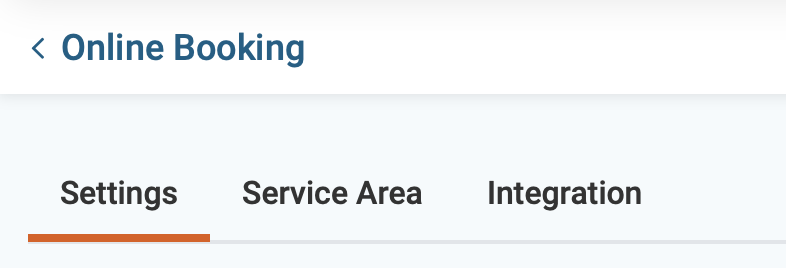
4) Next, click on the setting tab.
5) Now choose how soon a customer can book a service with you?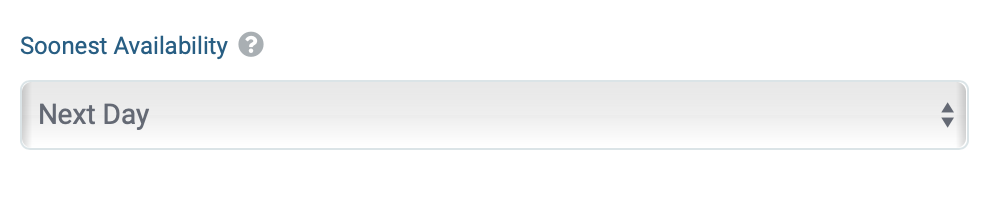
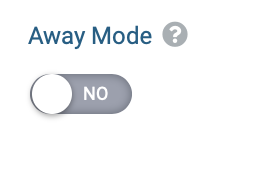
6) Away mode. This will turn off your booking page. This is commonly used if you're going to be gone for a long period of time.
7) The next step is to choose how many bookings to allow per time slot. This depends upon the number of employees that you have. Choose a number from 1 to 5.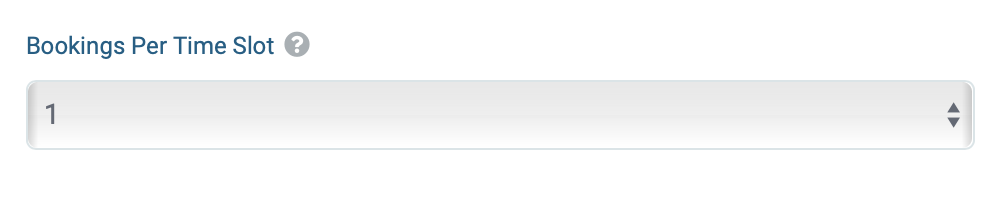
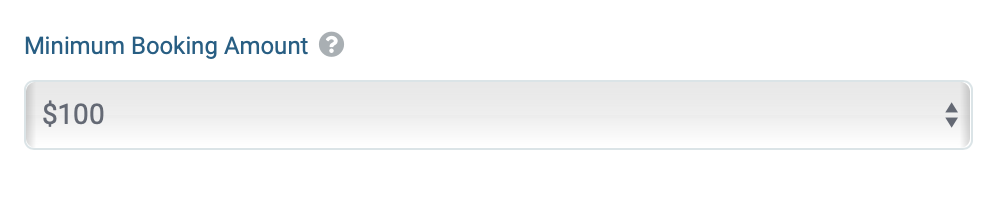
8) Do you have a minimum dollar amount required to book your services?
9) Next, set your online booking hours. You can choose multiple slots for a single day by clicking on the plus sign in front of the first slot. Also, you can turn days on or off by clicking on the On/Off toggle. Each slot will be bookable online. 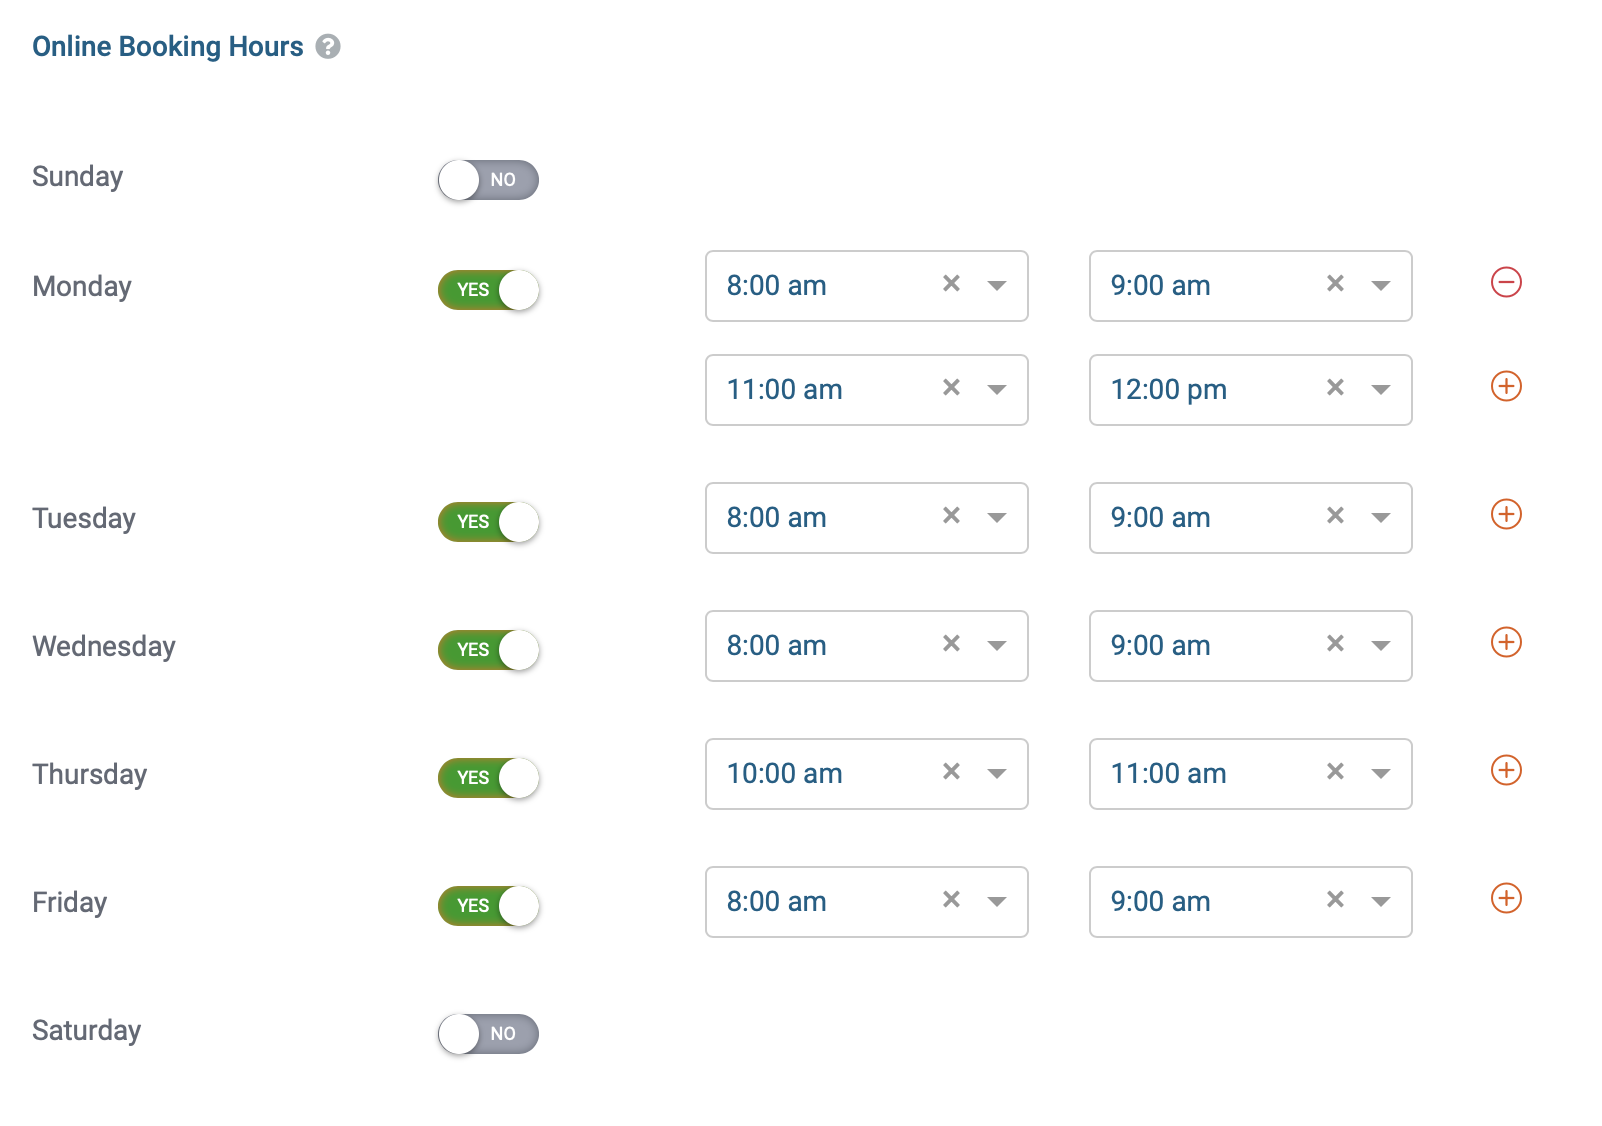
10) Next, save your setting by clicking on the Save button.
![]()
11) Next, select the service area tab located in the upper left corner.
![]()
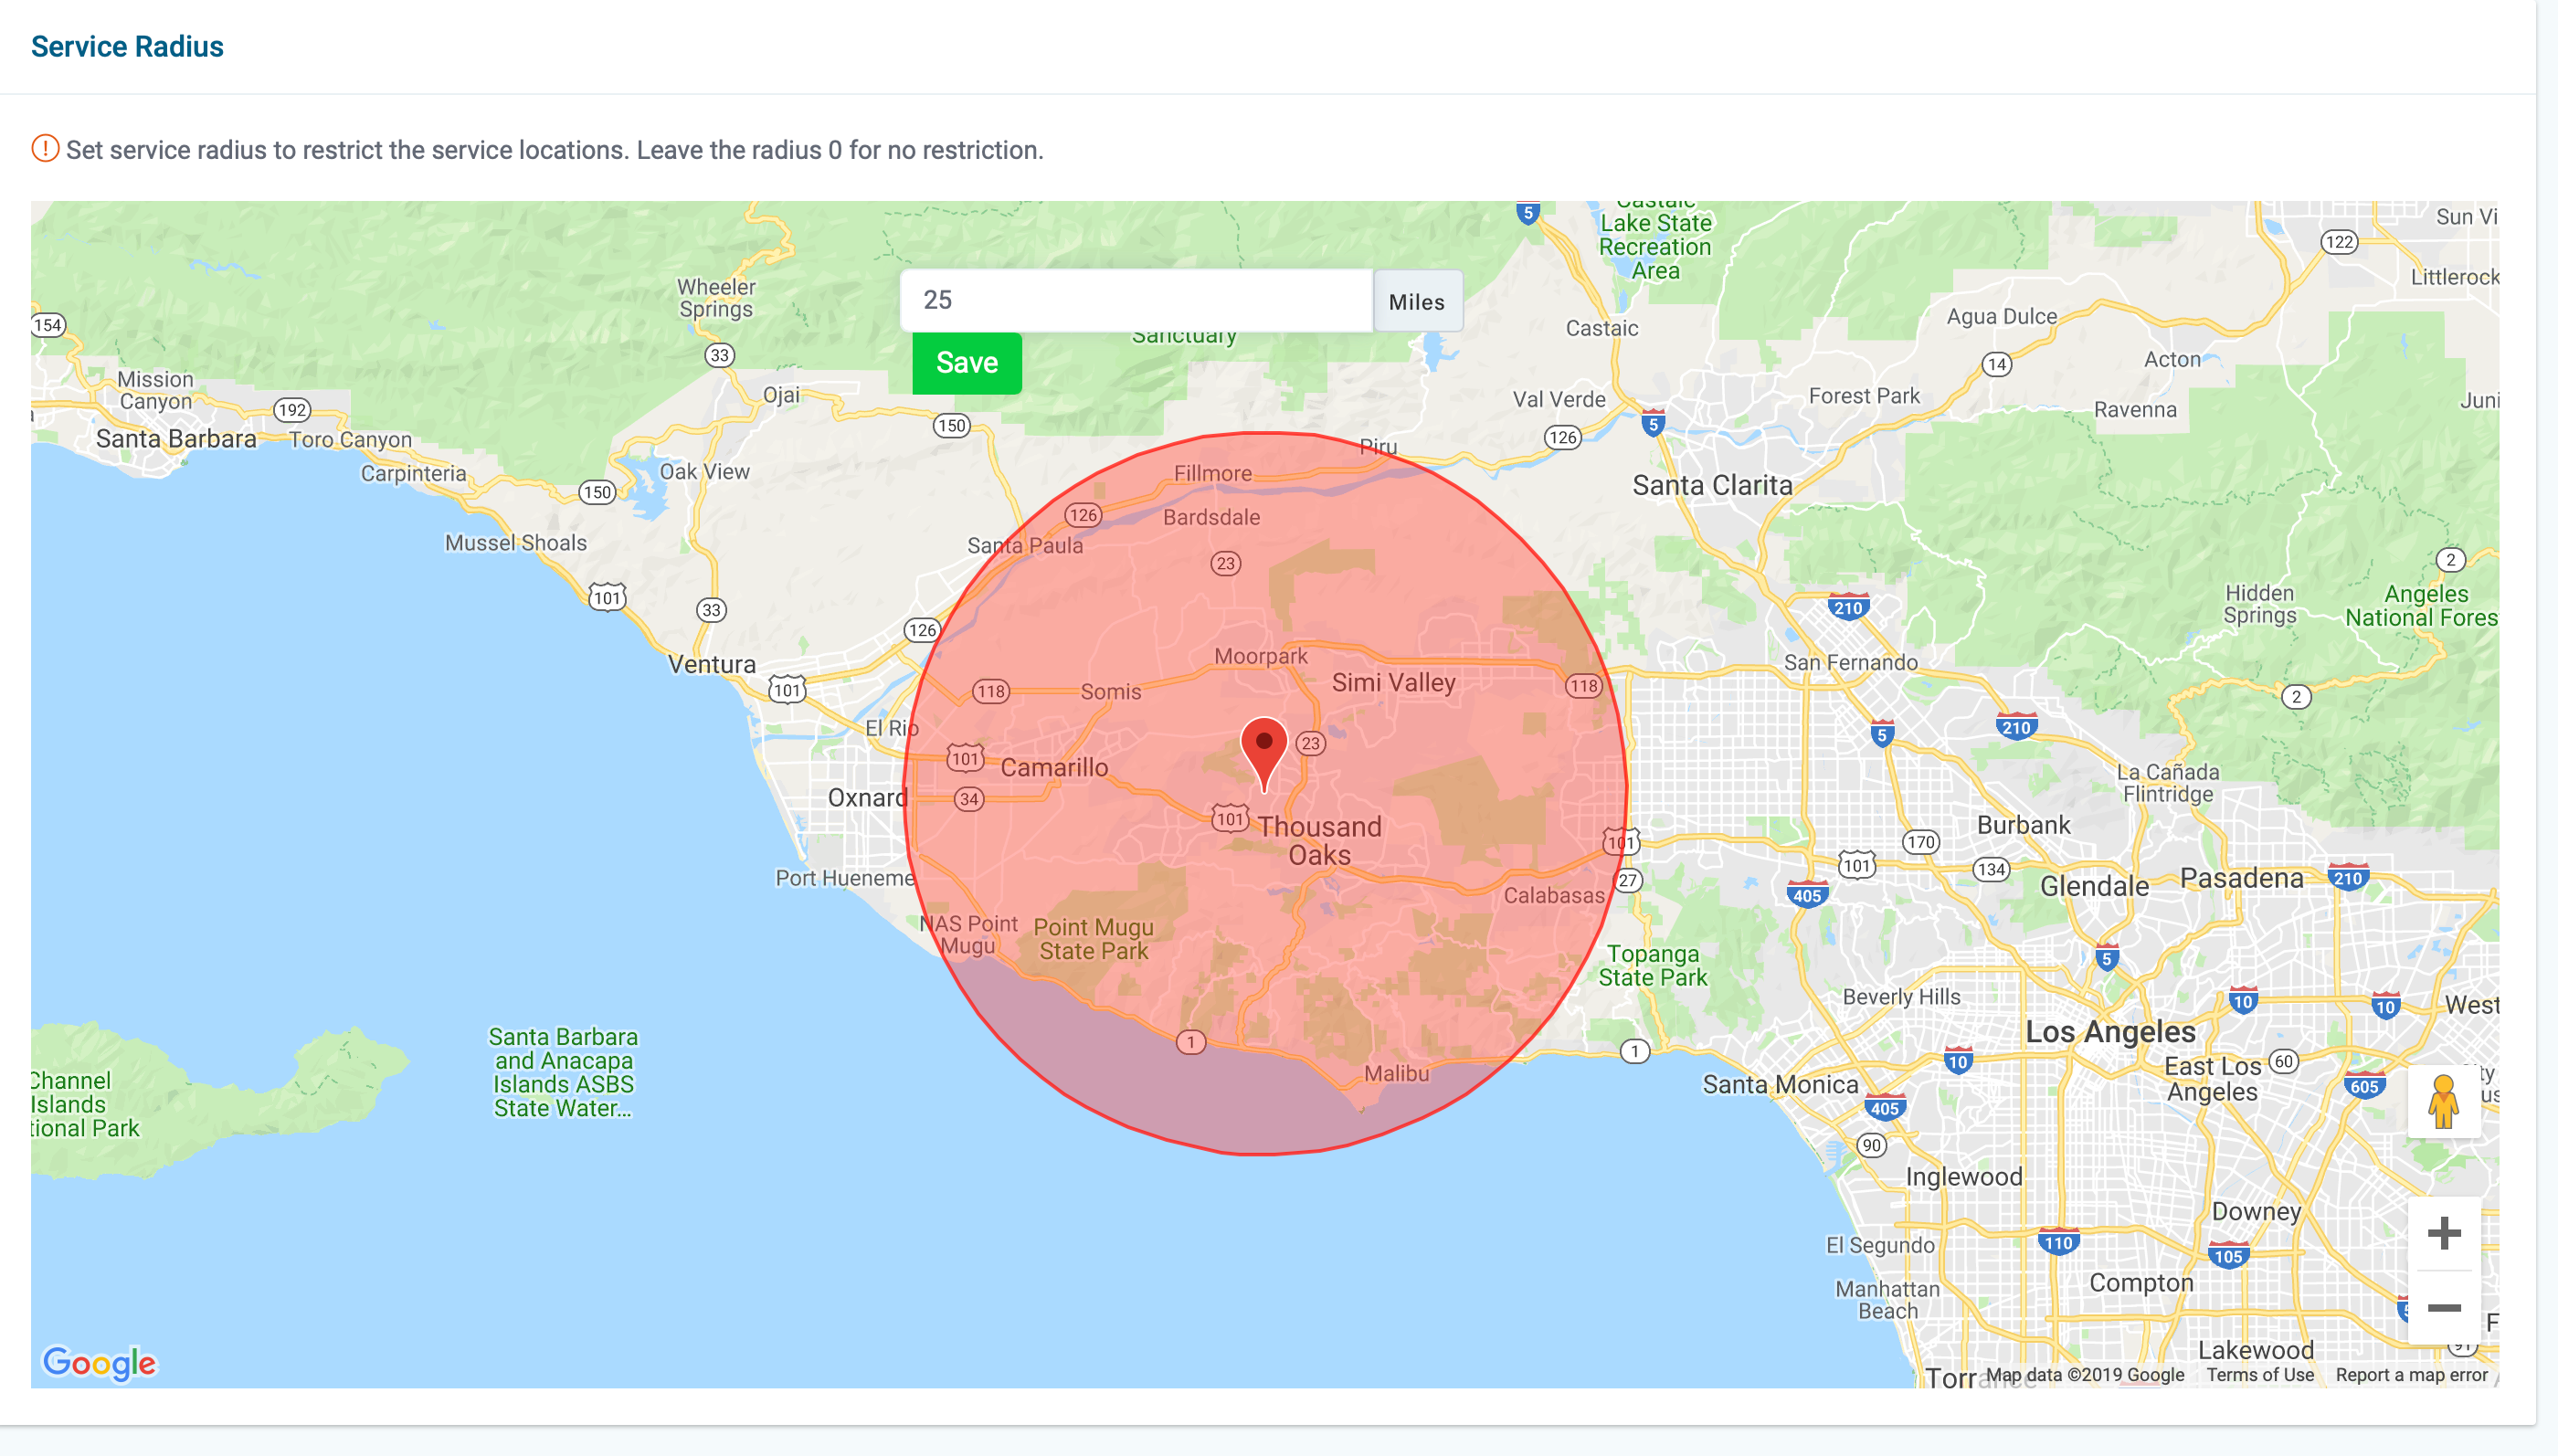
12) Prevent people from booking outside of your service area by adjusting the service radius. People outside the red zone are restricted. Click save when you're finished.
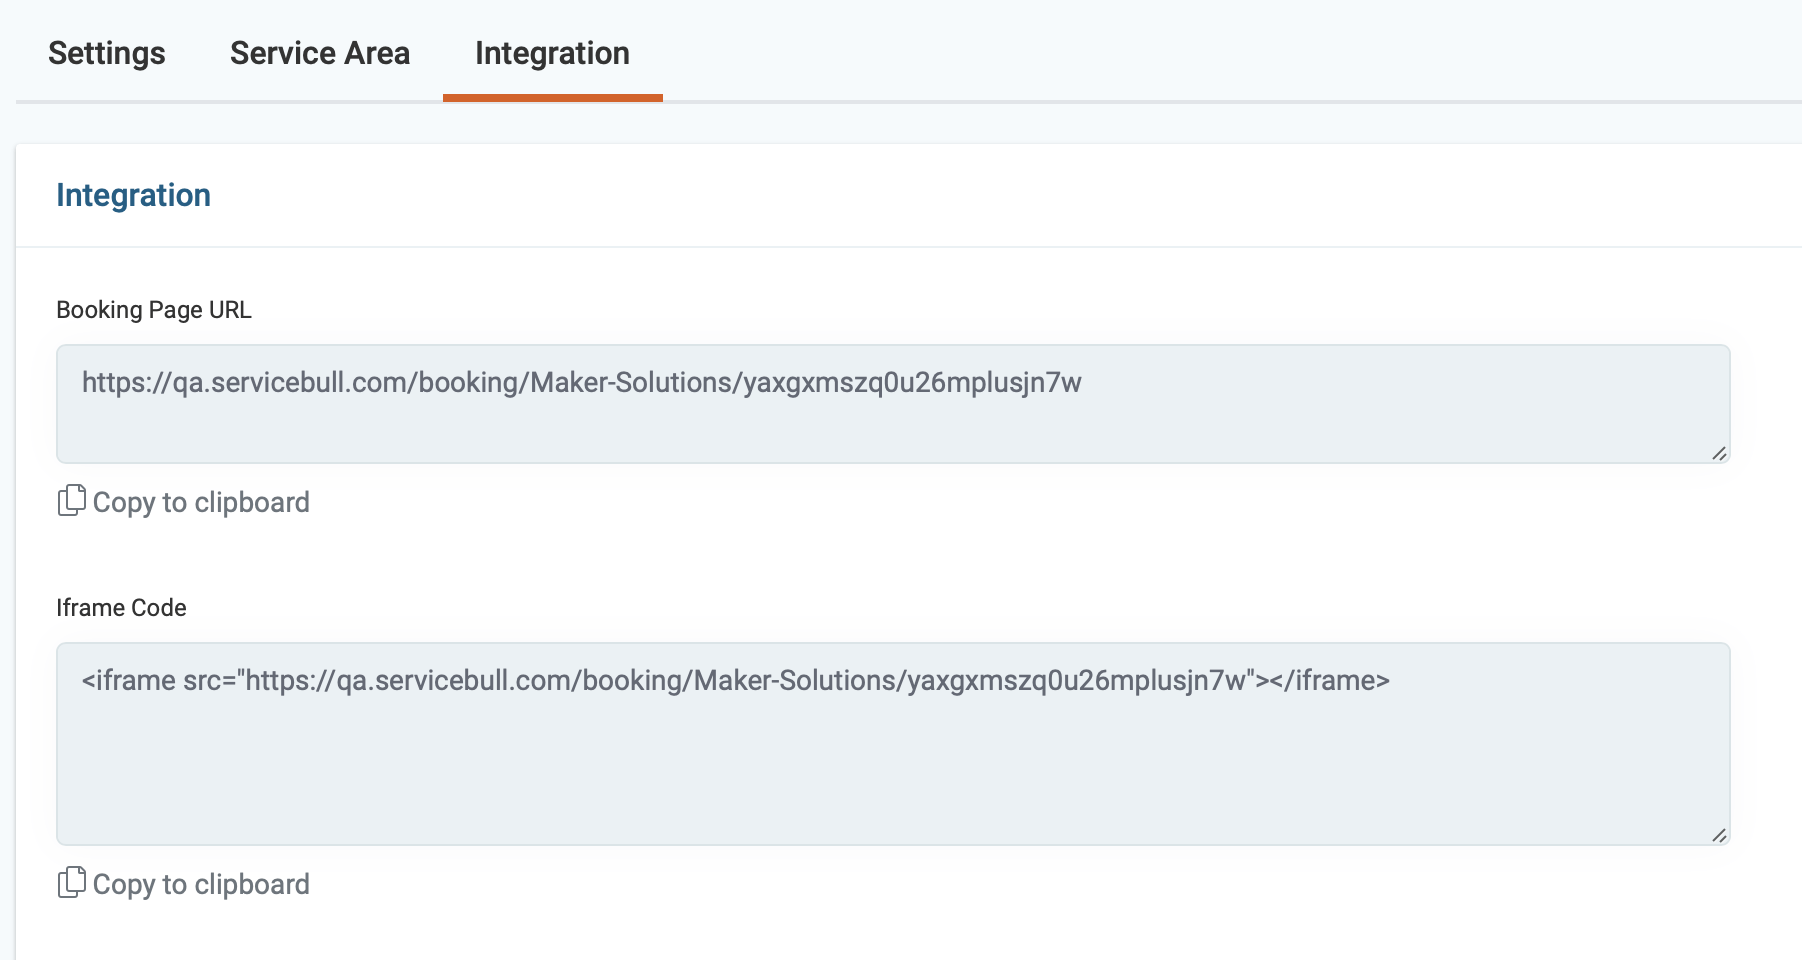
13) Next, click on the integration tab. You have two options:
A) You can use the link code to link directly to your booking page via a button from your website or you can add the link code to your social media channels like facebook, twitter, etc.
B) You can embed the iframe code directly into your website so customers never leave your page.
In the top right corner, you can access your online-booking page by clicking on the eyeball icon, and you can access your price list by clicking on the book icon. The Price List is where you add your services to your online booking page. Here an article to guide you through the process.
![]()