Visits are used to schedule an onsite assessment to collect more information before starting a job. After the assessment is completed, you can convert the visit into an estimate or a job with just one click.
Let's explain what happens when you convert a visit. The system will create a new document, assign it a job number or estimate number depending on which option you choose, and copy all the customer information over so you don't have to.
Step By Step Guide
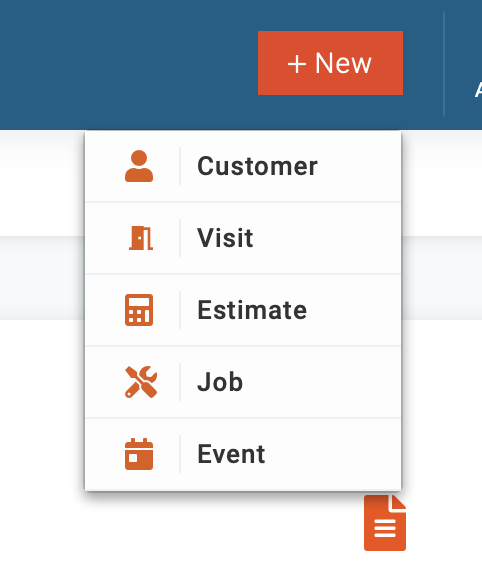
1) To create a new visit, click the + New button located in the top right corner, then select visit from the menu.
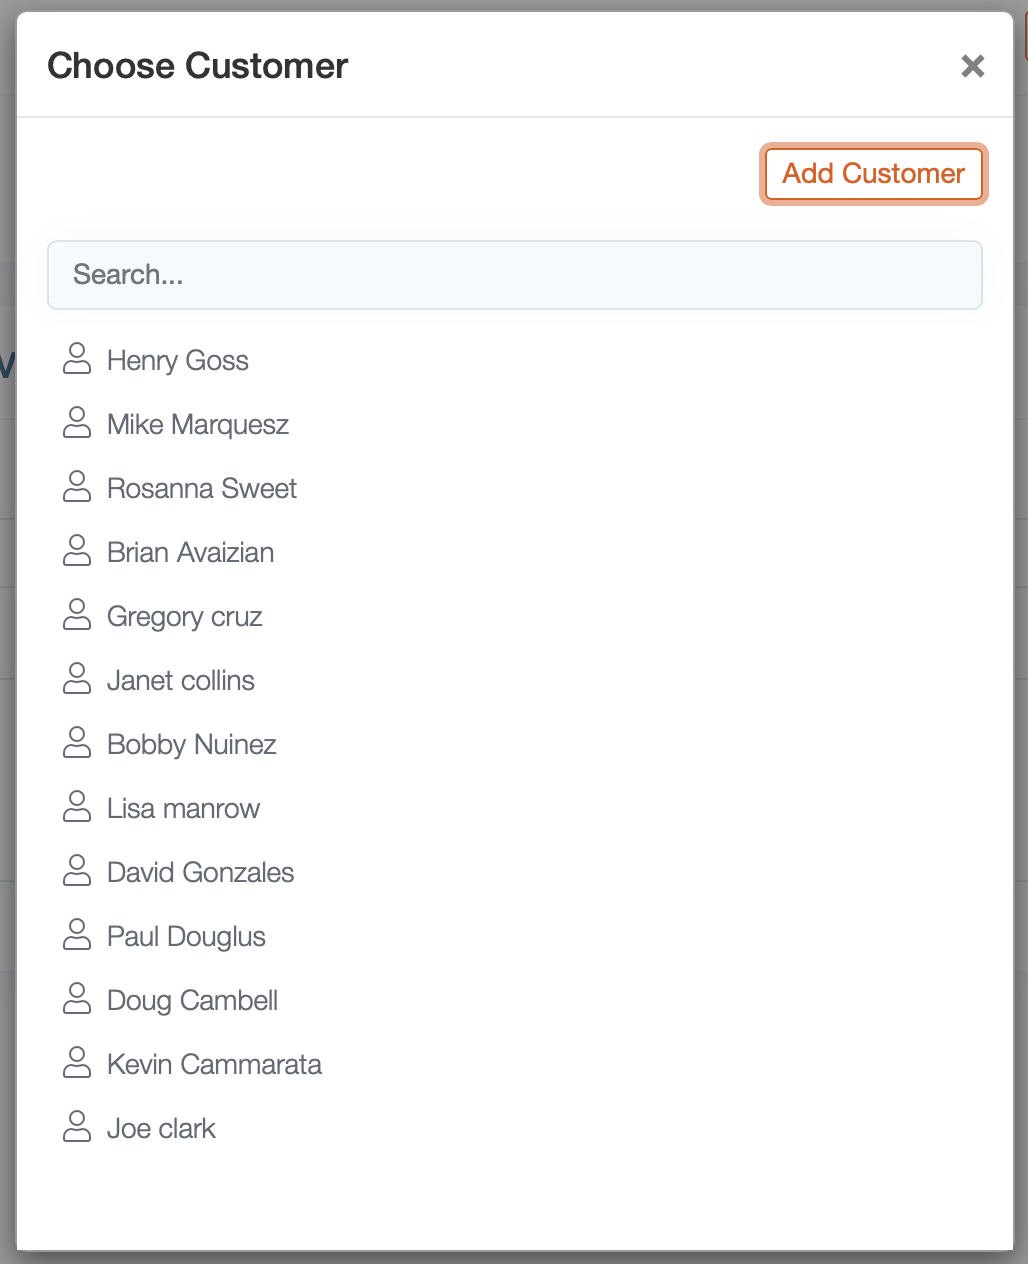
2) Next, a pop-up window will automatically open in front of you. You have two options: Select an existing customer from the list or add a new customer.
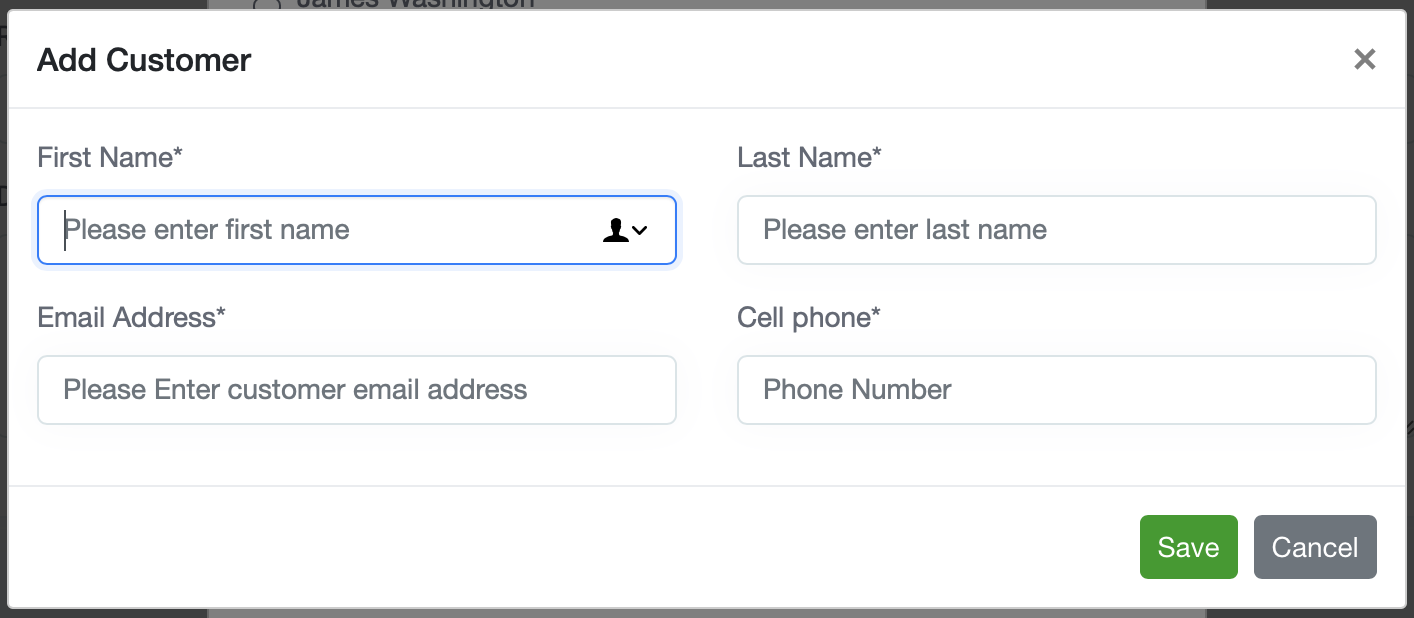
3) To add a new customer, click the Add customer button on the top right corner of this window. Enter the customer's information and click save.
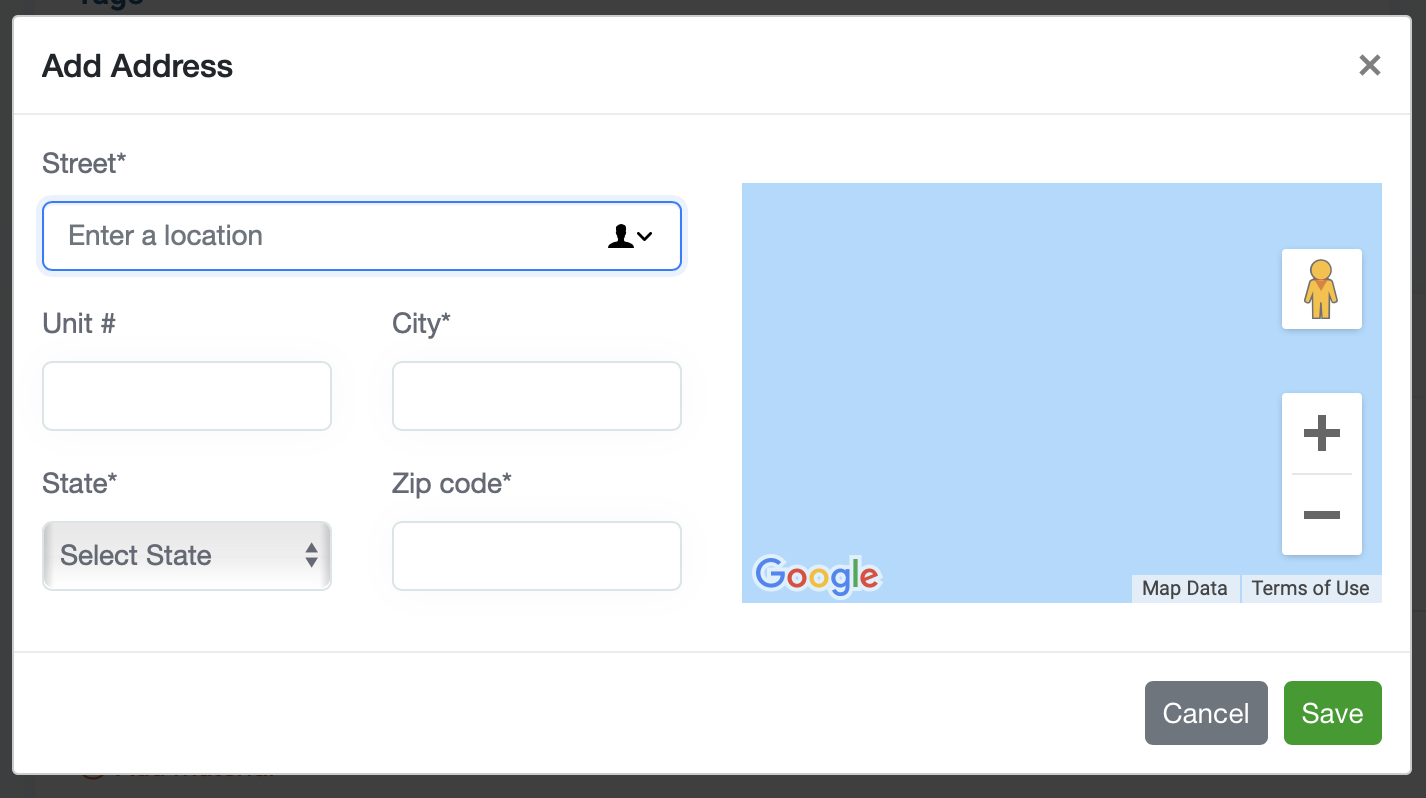
4) Next, you'll be prompted to add the property location. Enter the required information and click save.
5) To choose an existing customer, select their name from the list. Use the search to locate the customer quicker.
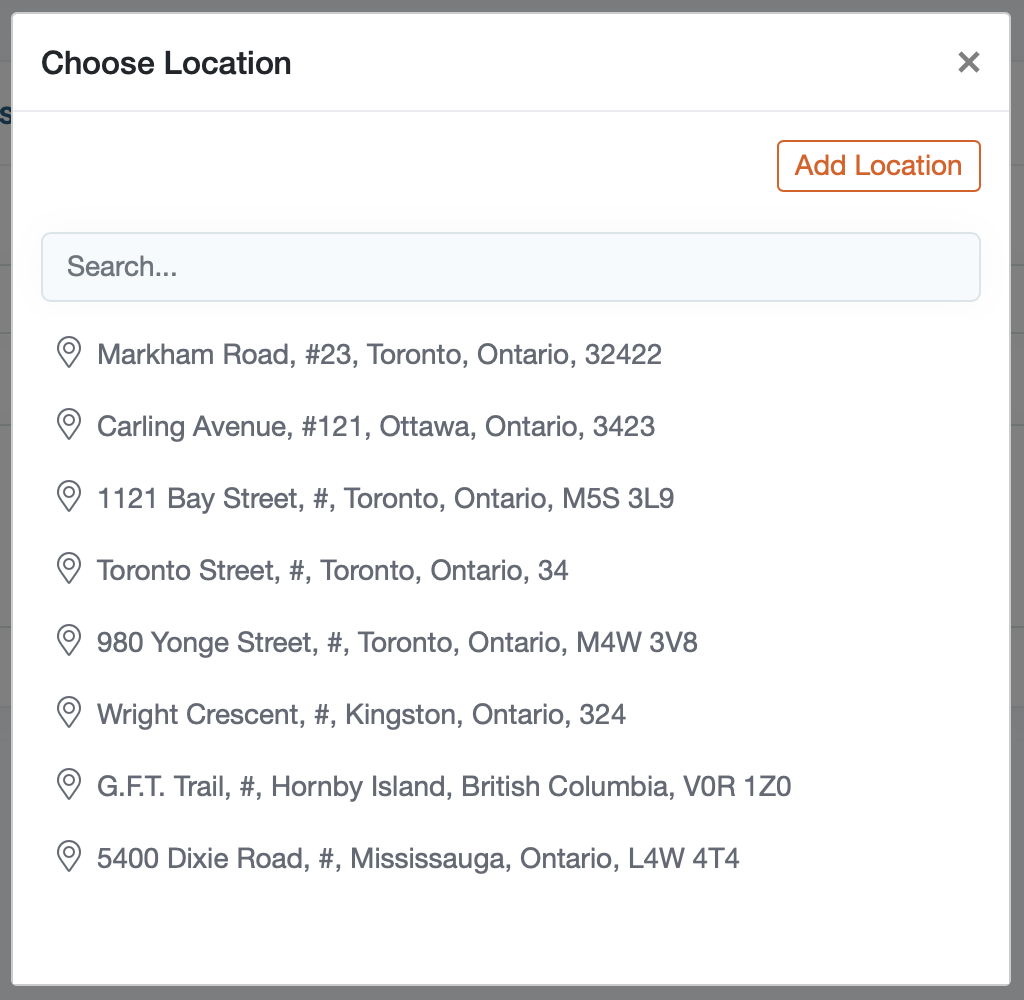
6) Next, choose the customer location you plan to visit.
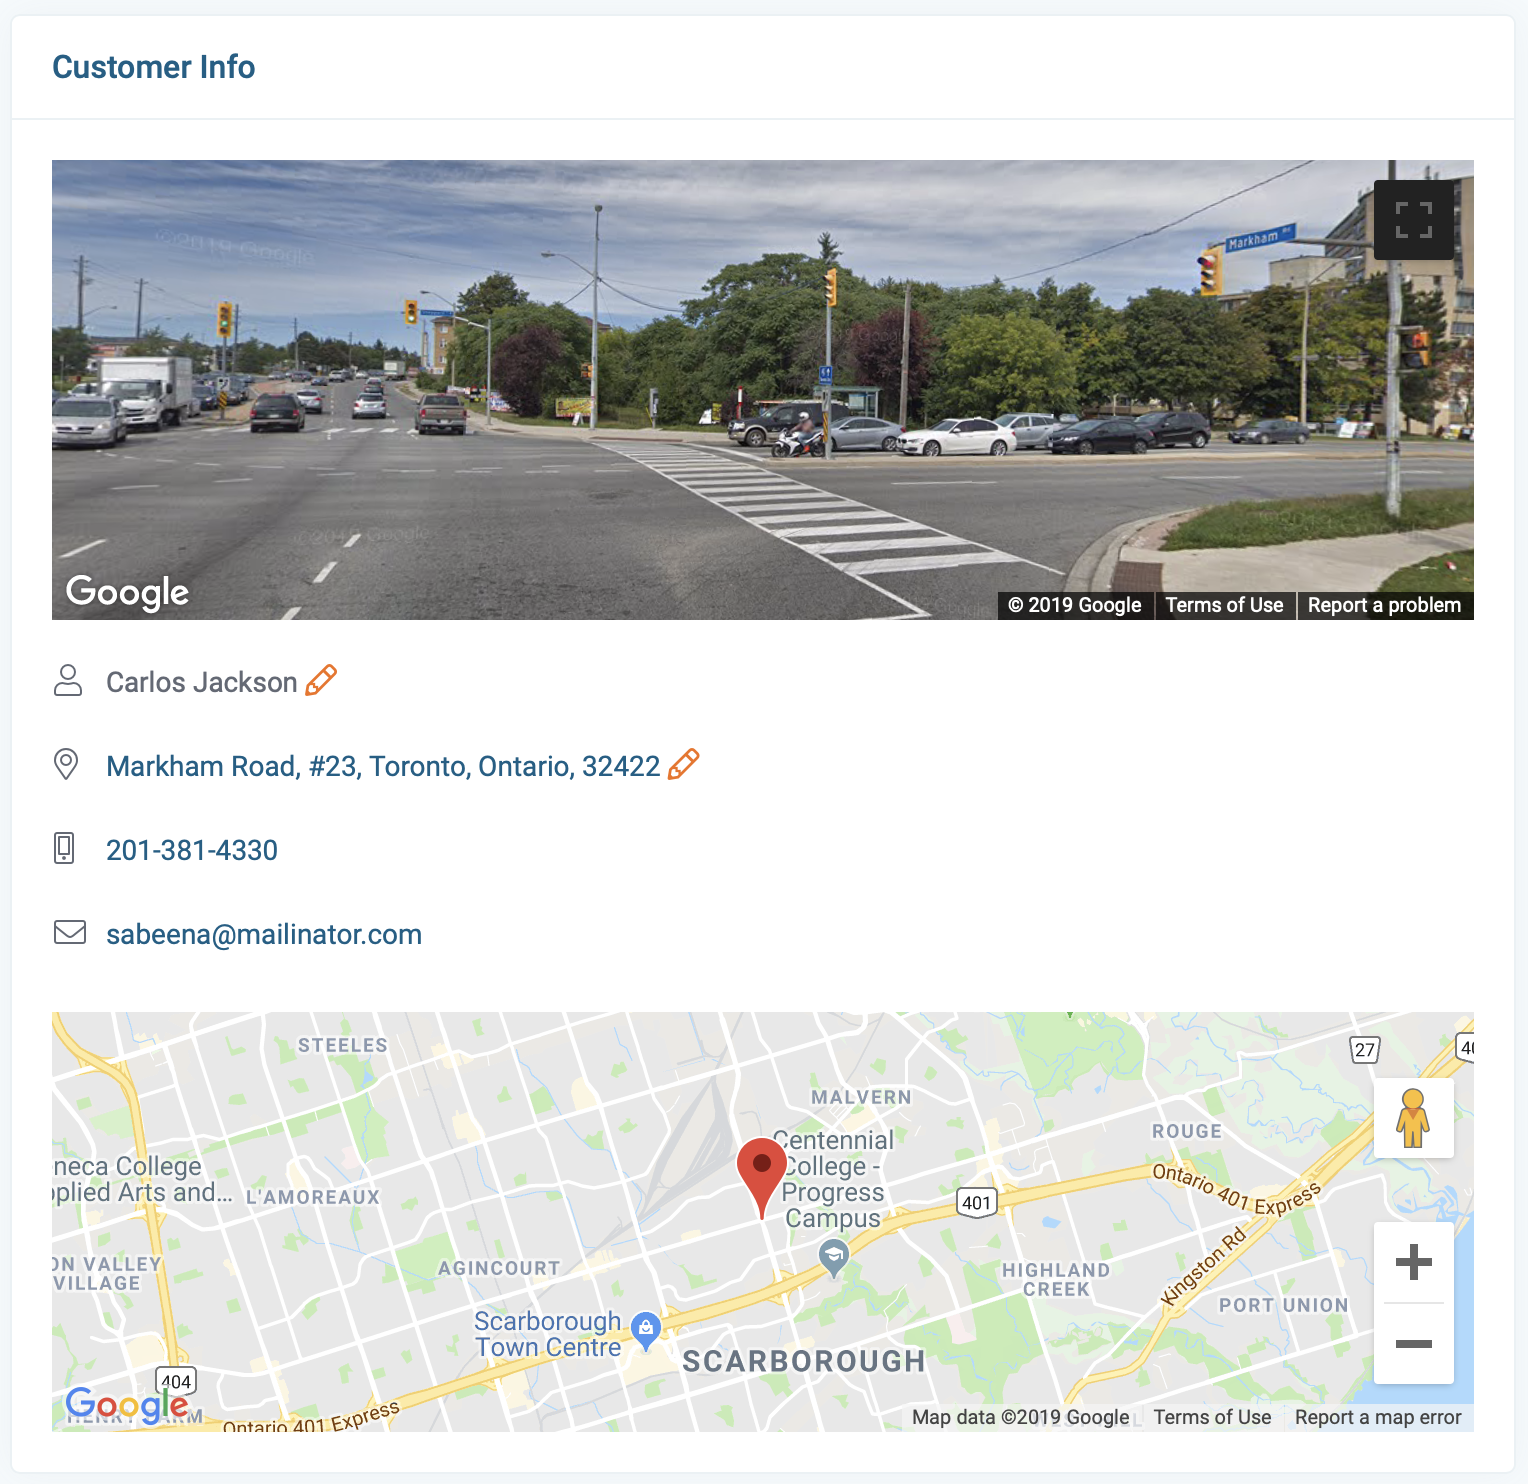
7) A new visit page was created. The left side of the page will display the customer information. You can edit the customer information by clicking on the pencil icon if needed.
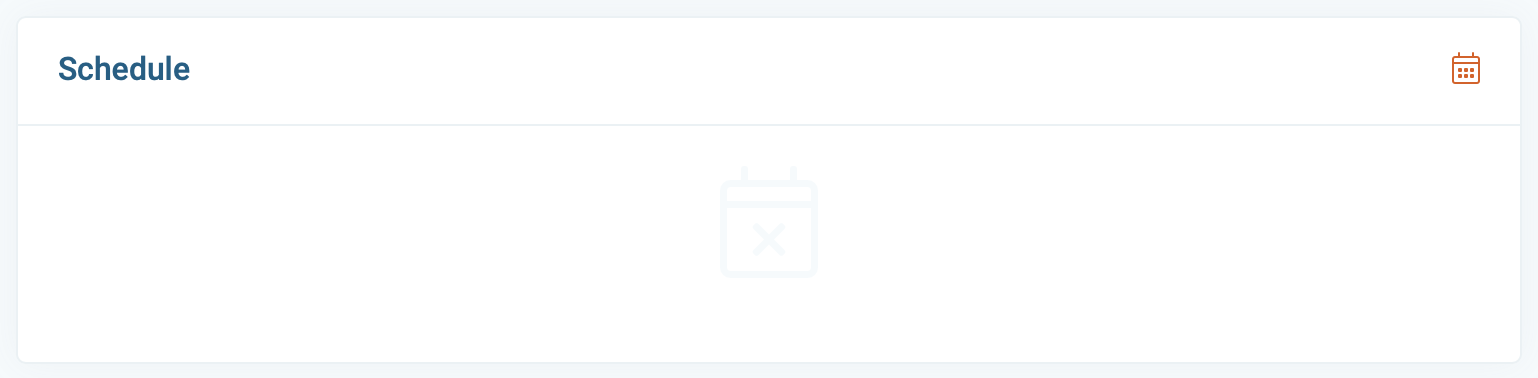
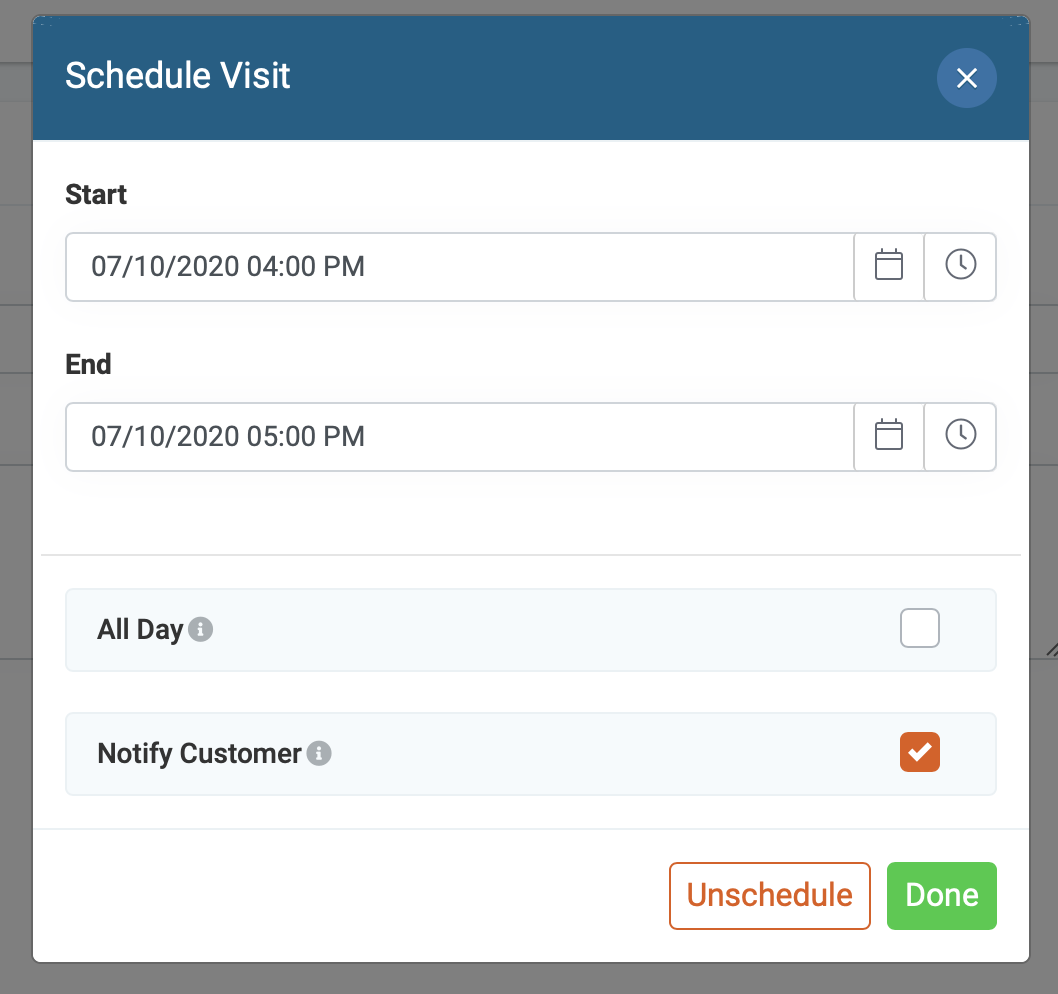
5) next, schedule the visit by clicking on the calendar icon.
A new window will open. select the date and time this visit will take then click done to confirm.
Notify Customer: This option will send a notification to the customer (via email and SMS) with the scheduling details. Uncheck to disable (they will not receive an email or text notification)
6) Enter the reason for the visit with a description. (This info is only viewable by team members)

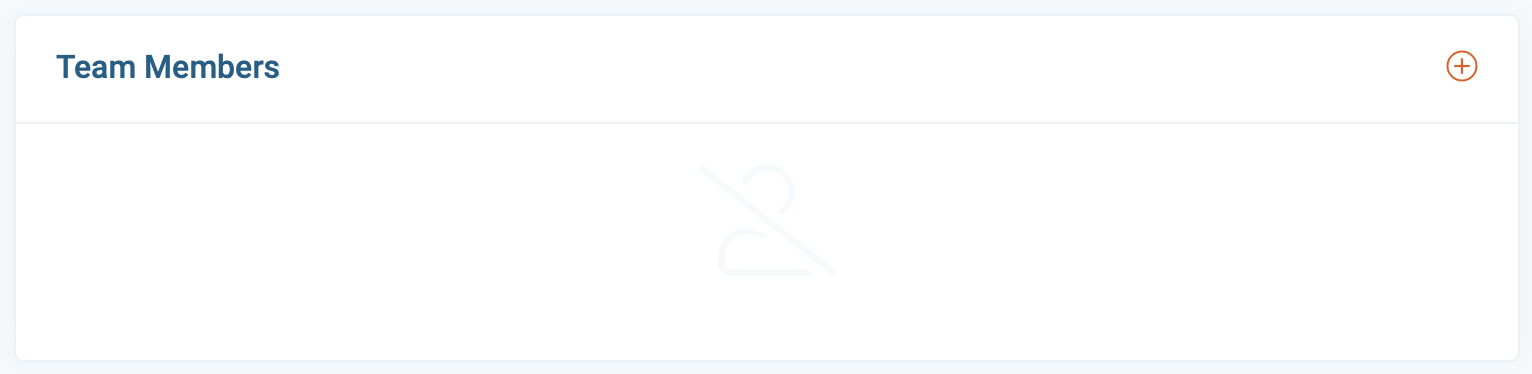
7) Next, assign the visit to a team member by click on the + button.
8) Chose the team member and click done.
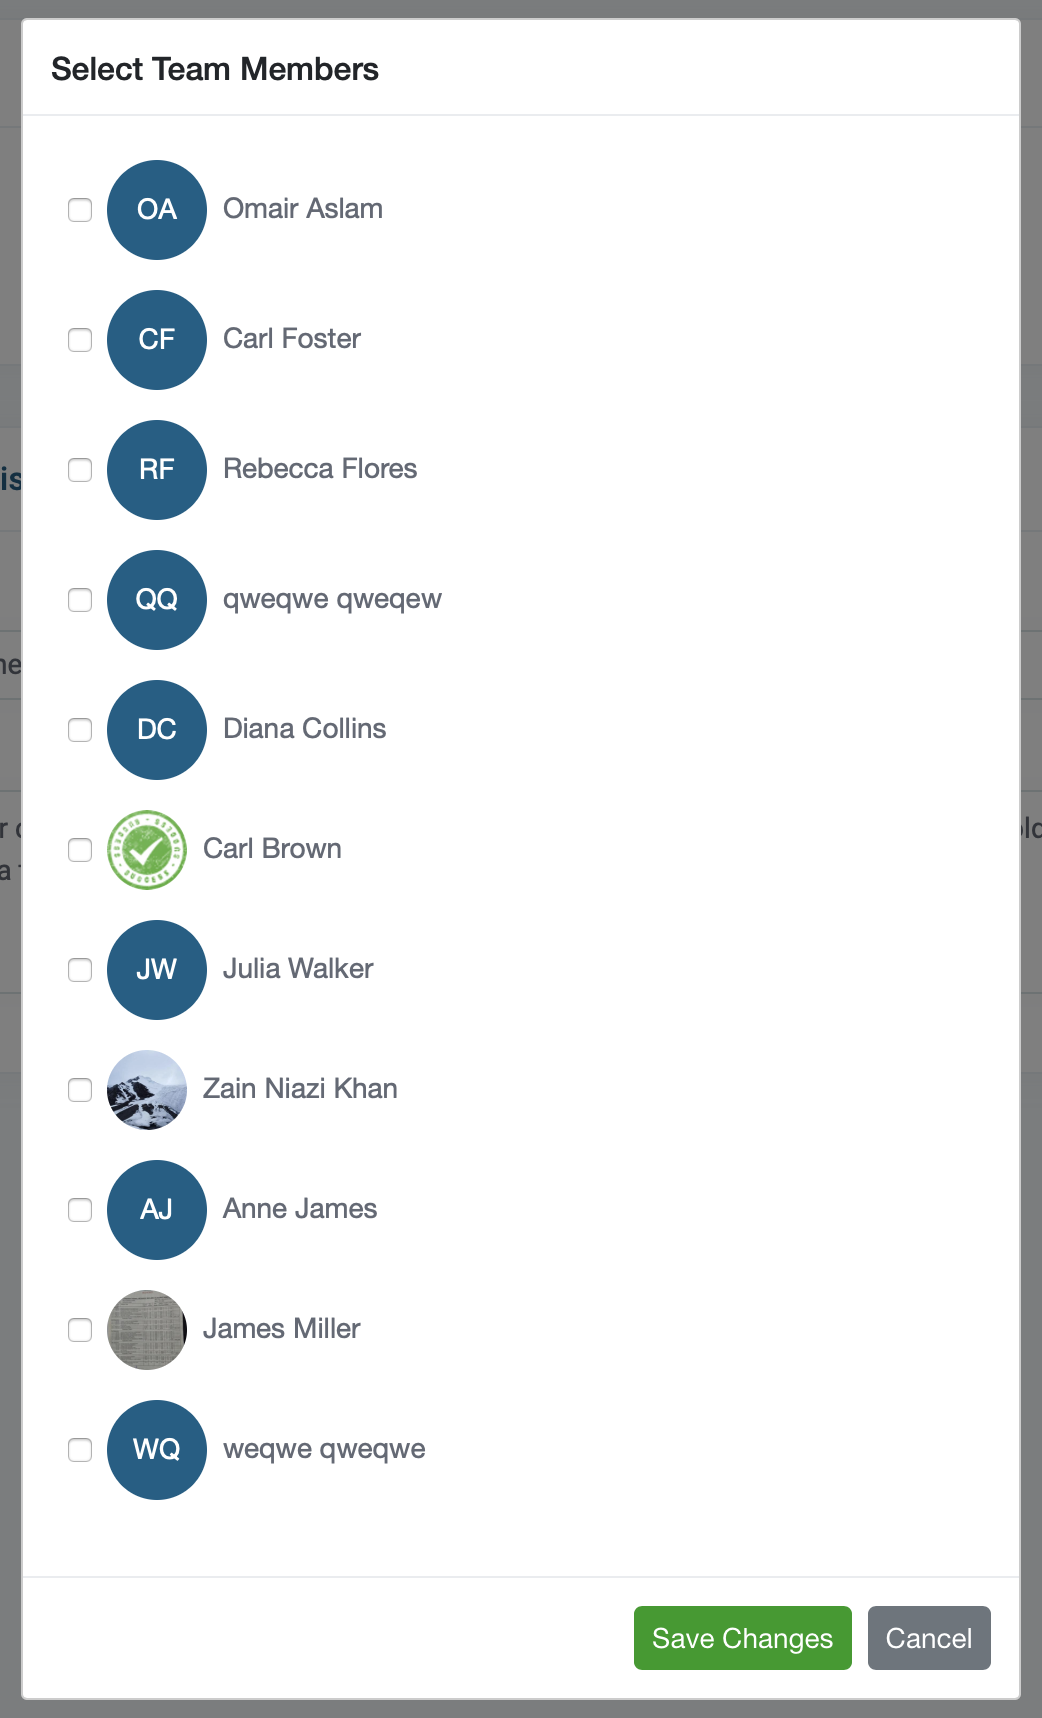
(The employees that were assigned will be notified thru the app and the visit will appear on their schedule.
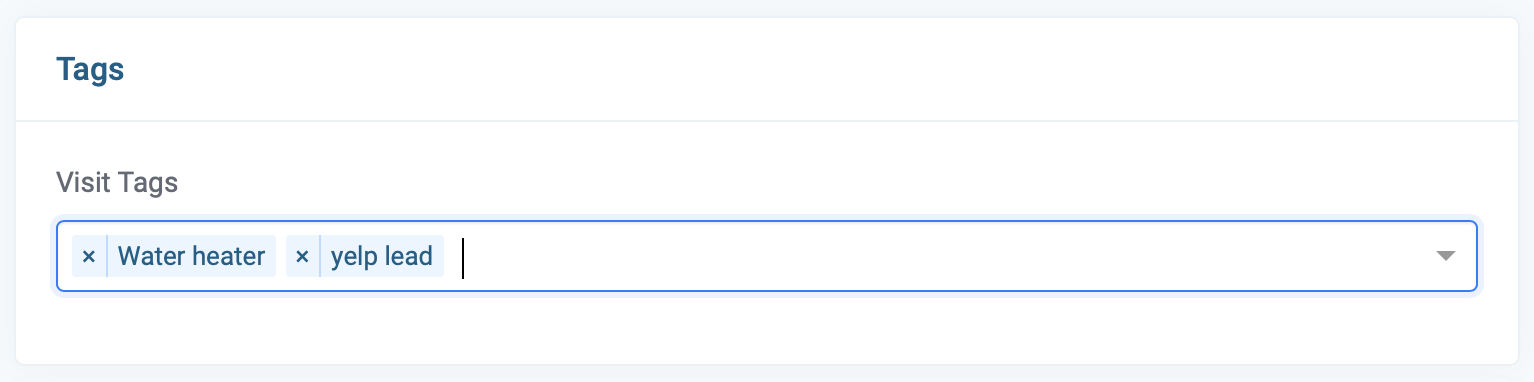
9) Tags (optional): Tags are internal identifiers (customers cannot see tags) there are used for distinguishing specific details like type of visit, or lead source. They categorize your visits and can be used to filter and search within your dashboard reports.
9) Now that you have all the information entered, click on the Save button located in the bottom right corner of the page.