This tutorial will cover everything you need to know on how to add and manage your existing customers.
Customer Section
To access the customer's management section, click on the "Customers" section located in the top navigation bar. You will see a list of all your customers.
![]()
Add New Customers
1) To add a new customer, click on the “New Customer” button located in the upper right corner of the page.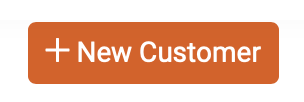
2) Fill in the required customer information. This section requires the customer type, source, first and last name, the company name is (optional) email address, contact number (Always opt for a cell number).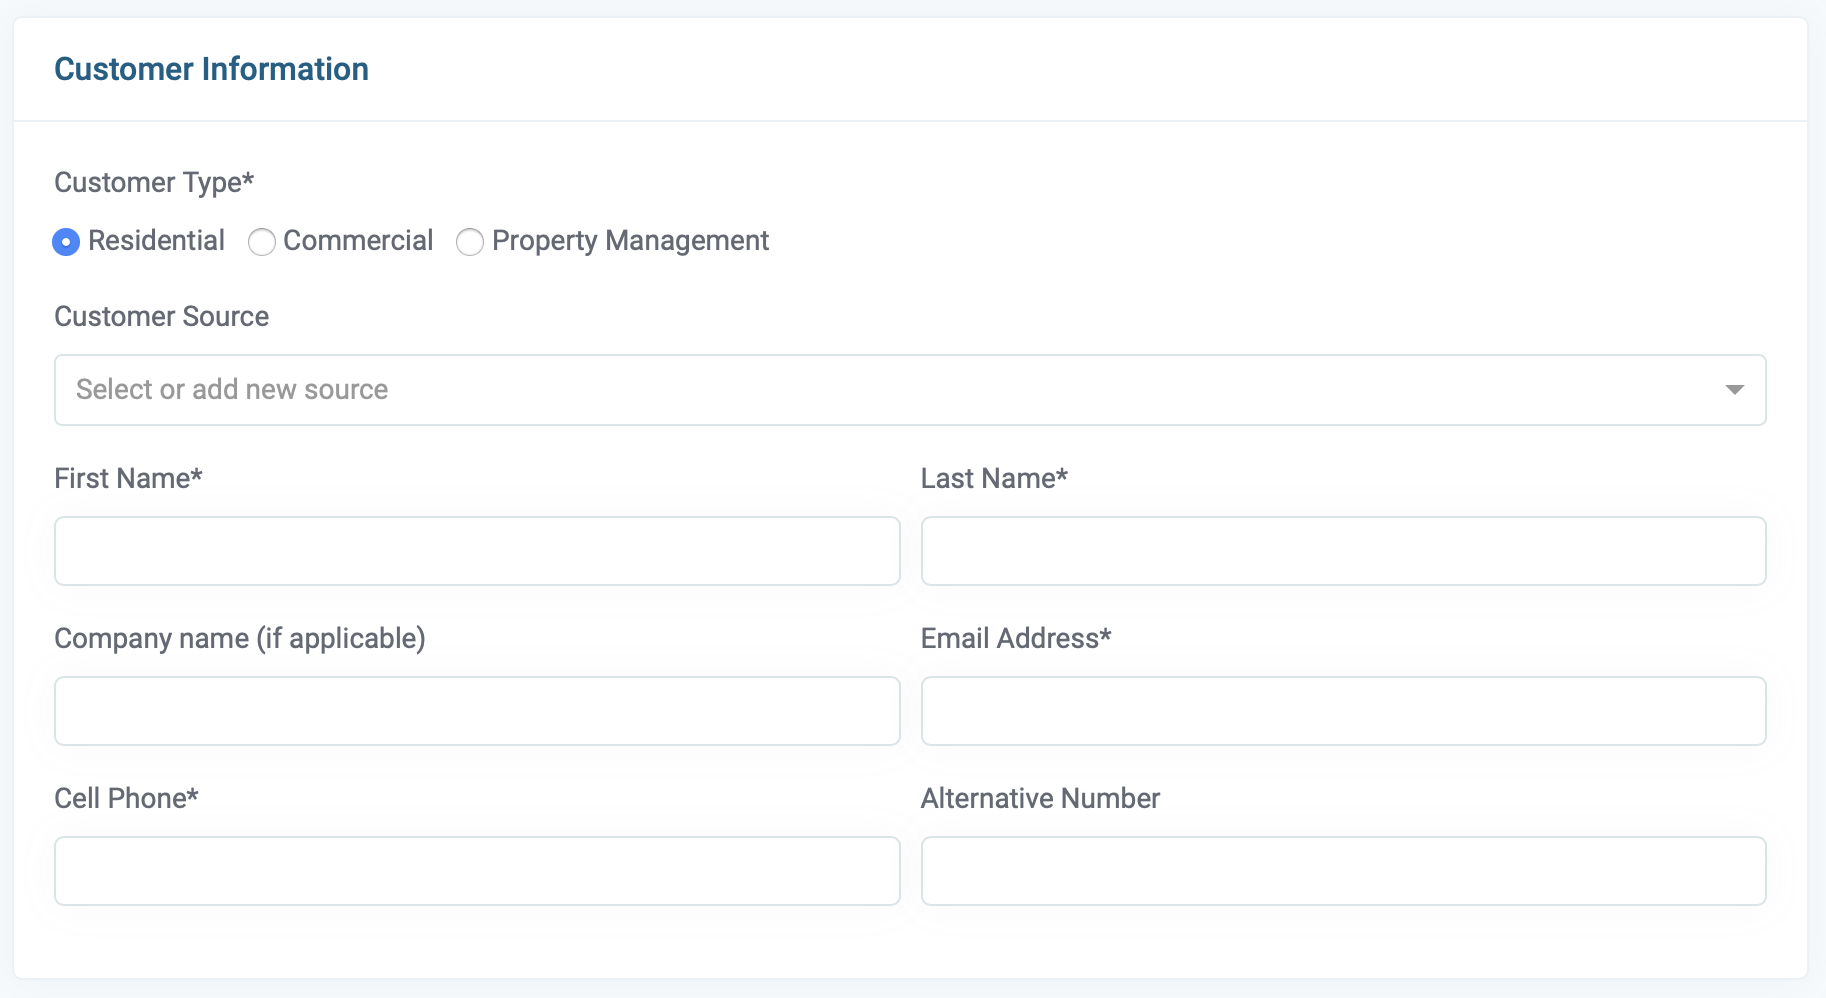
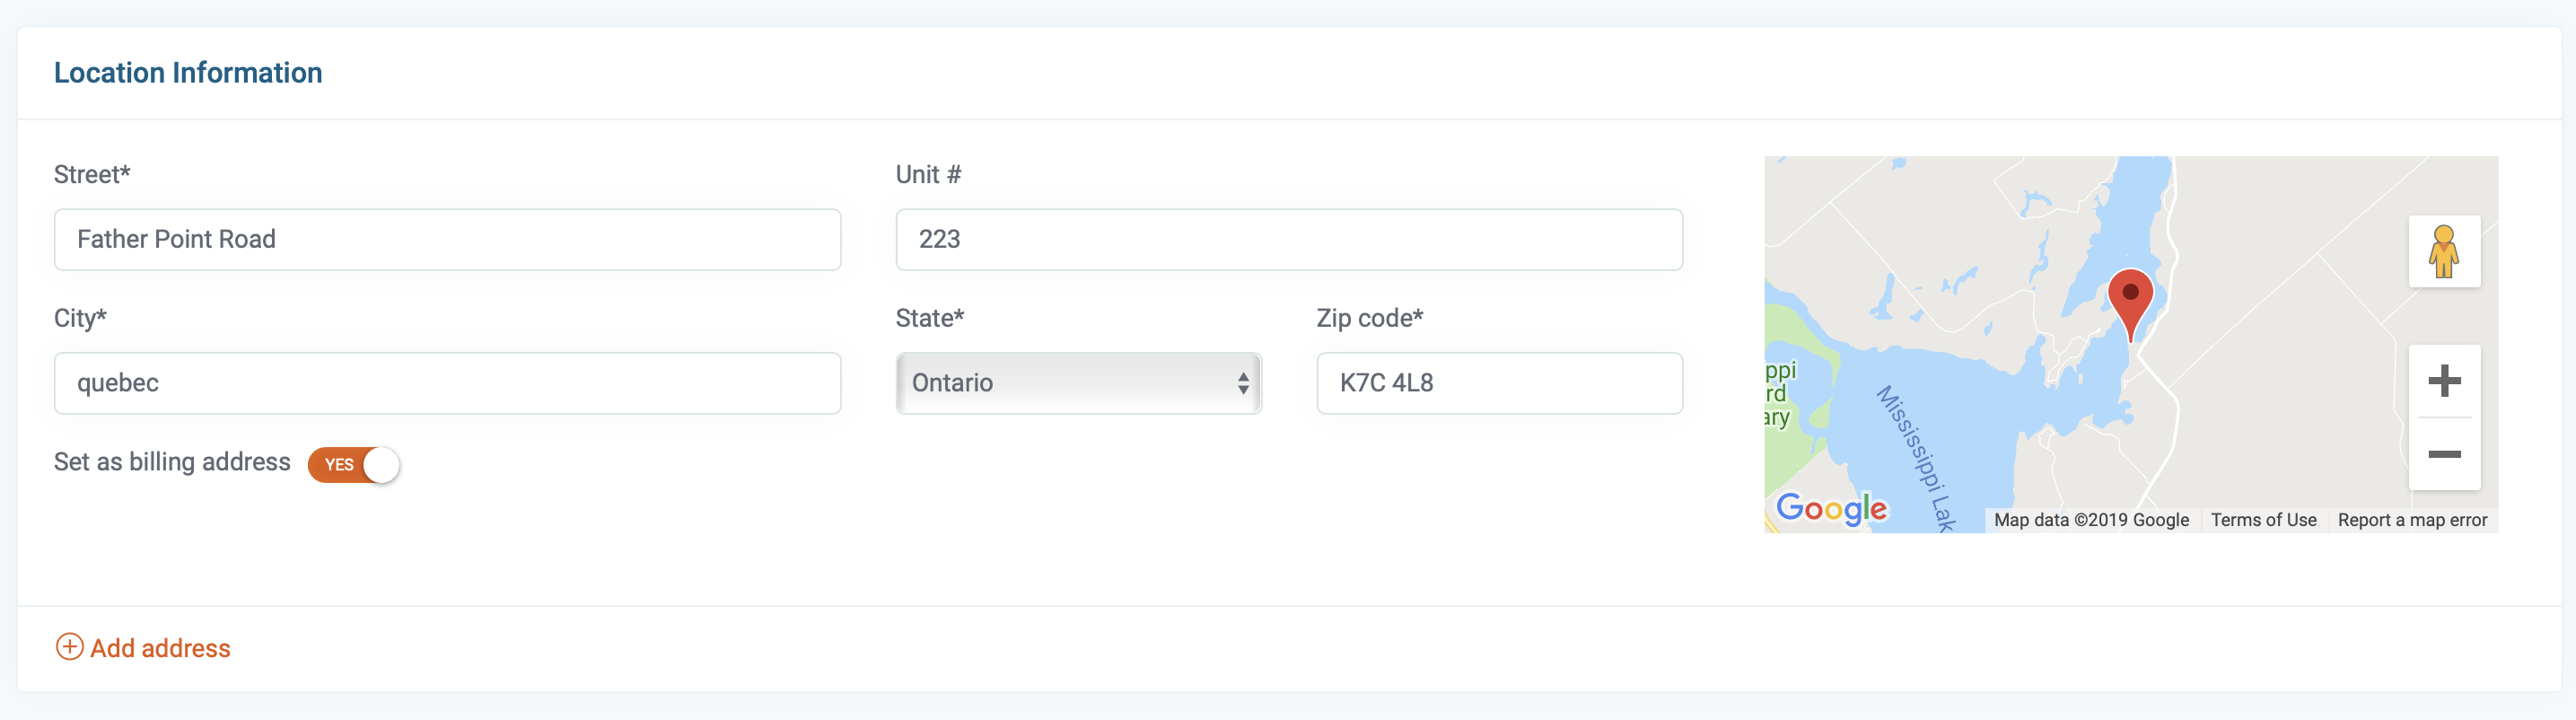
3) In the second part, add the location of the customer. If you want to add multiple addresses, you can do so by clicking on the "Add Address" button located at the bottom. If the customer has many addresses, you can define the billing address by using the toggle labeled "set as billing address."
4) Customer notification. Our system uses notifications to save you time and keep your customer well informed thru out the job cycle. If you prefer to disable notification for an individual customer, you can do so here.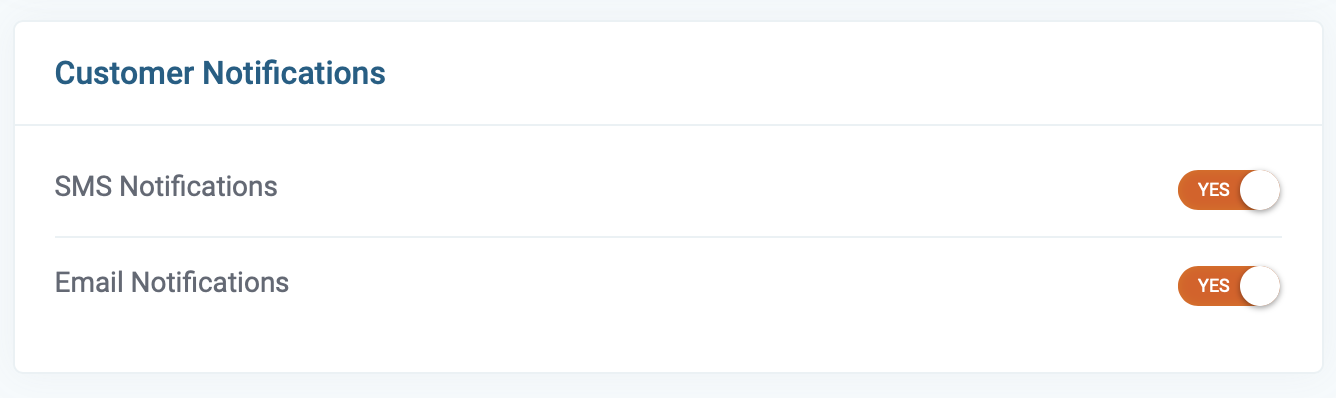
5) In the Misc information section, you can add private notes and tags. Tags are internal identifiers (meaning customers cannot see them). You can use tags to distinguish specific customer characteristics such as referral sources, customer routes, any other details that identify and or group customers. 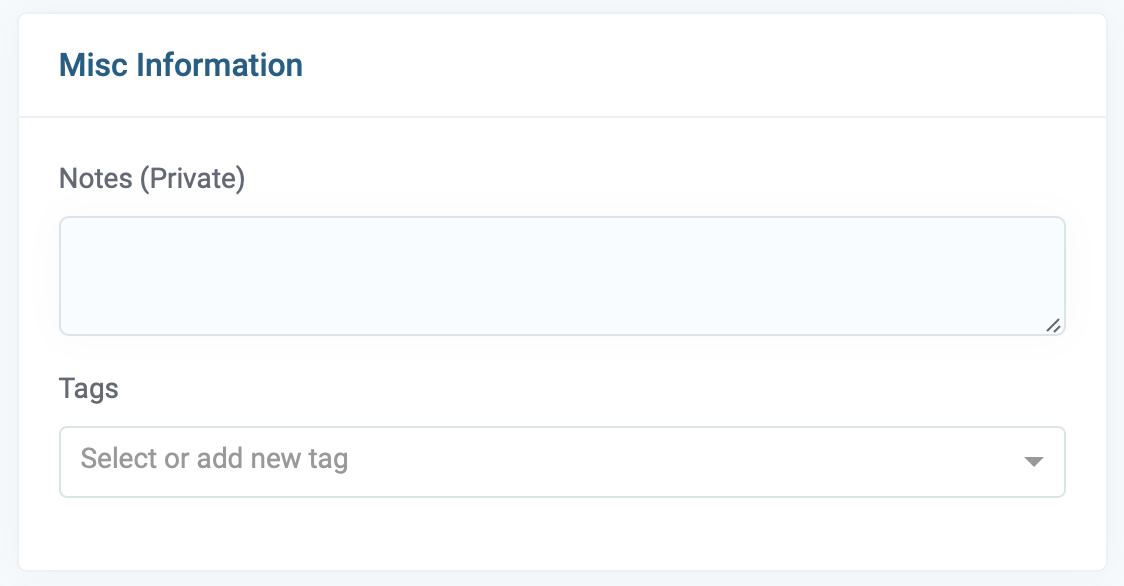
6) After you enter all the customer information, you can save your change by clicking the green save button below.

View or edit a customer
1) First, navigate to the customer's section by clicking the customer icon in the top main navigation.

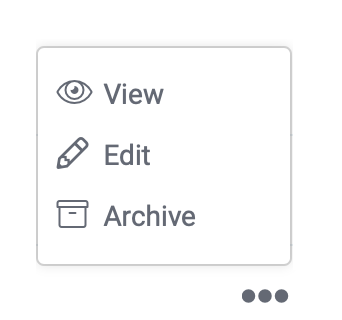
2) Next, search and locate the customer you wish to view then click on the 3 dots to the far under options to open a menu, then choose the View option to get started.
3) On this page, you can view the customer's profile, which including all visits, estimates, jobs, invoices, payments, and properties locations.

Customer Stats
1) The left panel of this page shows the customer stats. These include the job average, lifetime value, past due balance, and the number of completed jobs.
Archive a customer
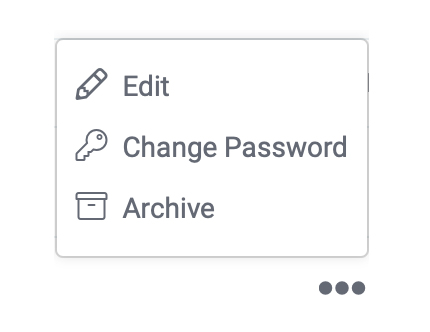
1) To achieve a customer, open the "Customers" section, which is located in the top navigation. next, locate the customer that you want to archive then click on the 3 dots under the heading of "options," then choose "Archive" from the menu.
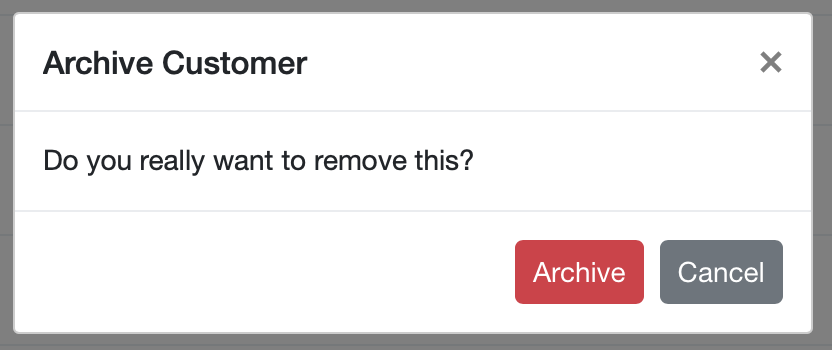
2) A box will open asking, "Do you really want to remove this?" Click on the red colored "Archive" button. That customer is now removed from your list.
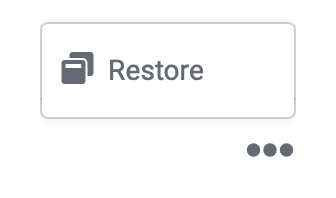
Restore an archived customer
1) To restore an archived customer, open the “Customers” section and click on the “Archived” tab. There will be a list of all the customers that were archived.

2) To restore a customer, click on the 3 dots under the heading of "Options” of the page specific customer and click on the “Restore” option. That customer will be restored.
Import your customer list
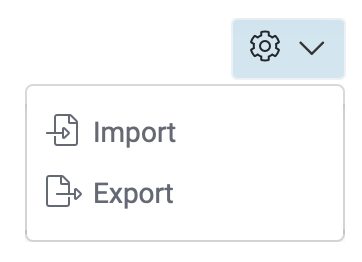
1) Service Bull provides the option to import a list of existing customers. To import a list from your computer into your account’s database open the “Customers” page in your account. Click on the gear ![]() icon located in the upper right corner of this page. Choose the "Import" option from the drop-down menu.
icon located in the upper right corner of this page. Choose the "Import" option from the drop-down menu.
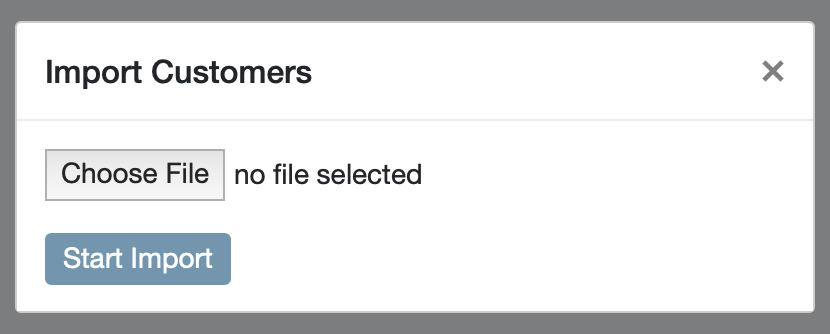
2) A box will open in front of you. Click on the “Choose file” button in this box and browse your computer and select a CSV or excel file to upload. After choosing the file, click on the “Start import" button. Your customers' list would be imported to your service bull account.
Export customers list:
1) If you want to export your saved customers' list to your computer, open the "Customers" page in your account. Click on the sign on the top right corner of this page and choose the “Export" option from the drop-down menu.
2) A CSV file would be saved on your computer containing the list of all your customers on Service Bull.