This tutorial will explain how to create a new job, add line items, choose a tax rate, add a discount, and dispatch the job to a team member.
Step By Step Guide
1) To create a new job, click on add new icon located in the top right corner, and select job from the drop-down menu.
![]()
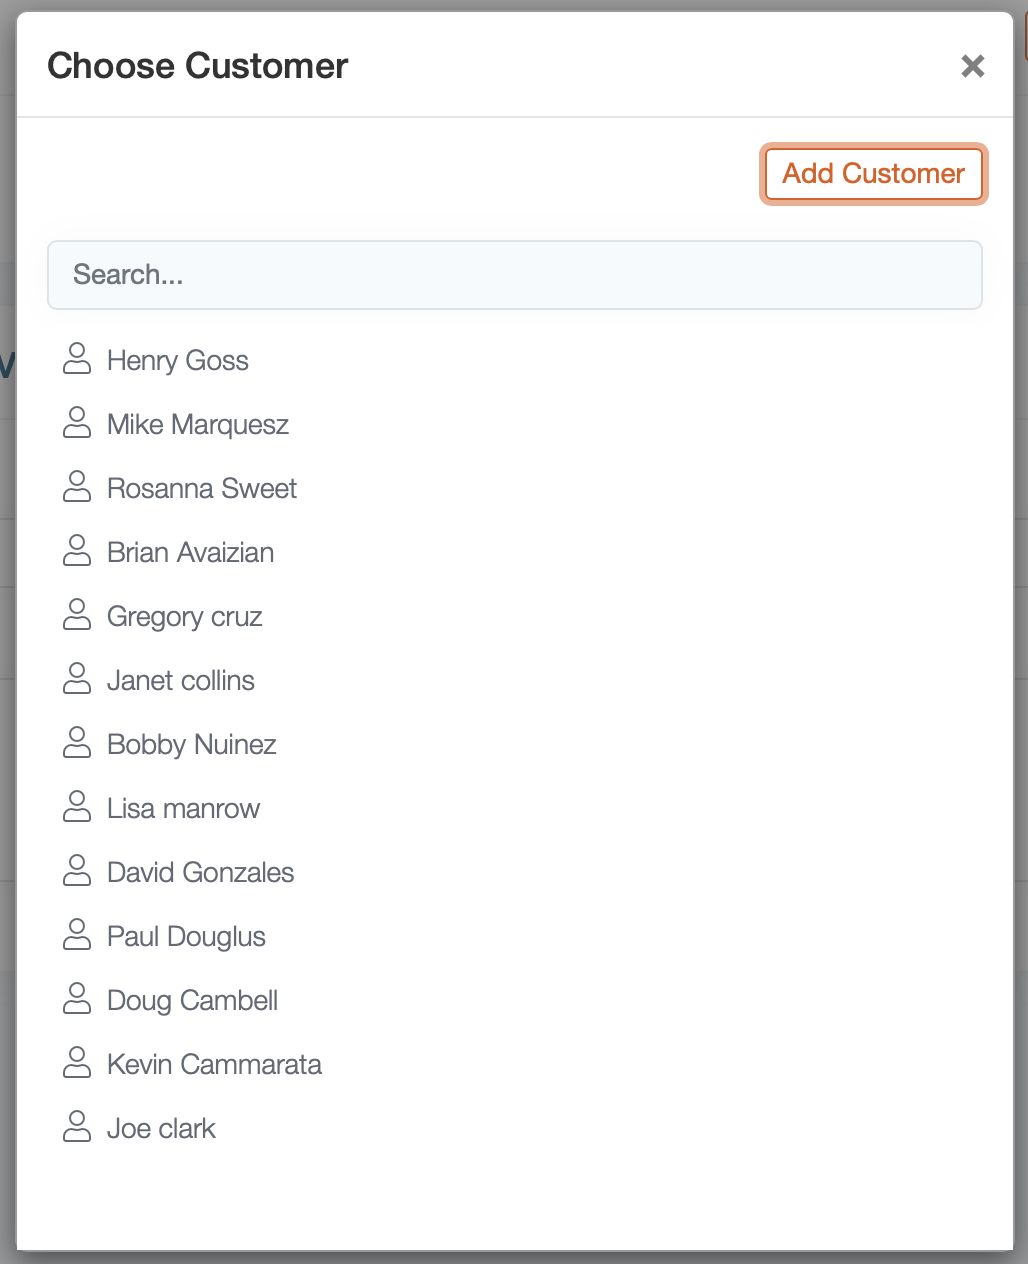
2) Next, add a new customer or choose existing customers. To add a new customer, click on the “Add Customer” button located in the top right corner of the box that opened in front of you.
3) Next, add the customer information and hit save.
Note: A cell number and email address are required for sending customer notifications.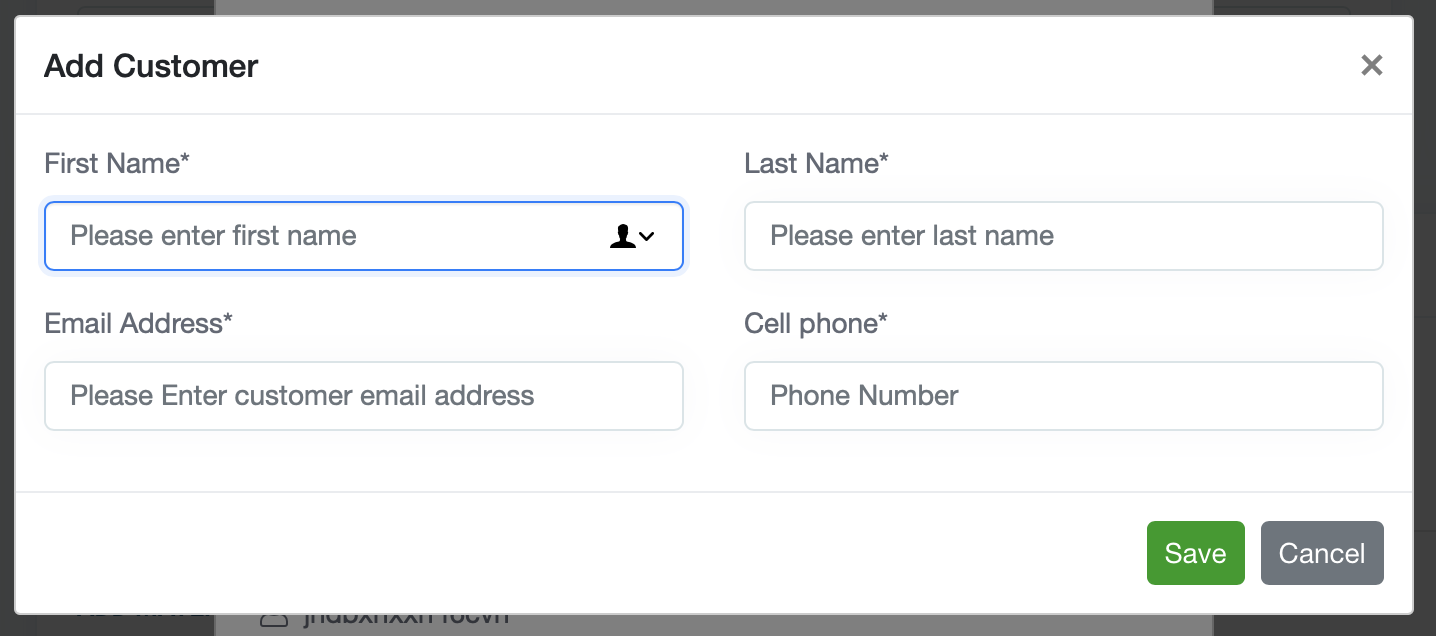
4) Next, You'll be prompted to add the location, to do so click add location button and fill in the required information.

5) Fill in the required customer location information and click save.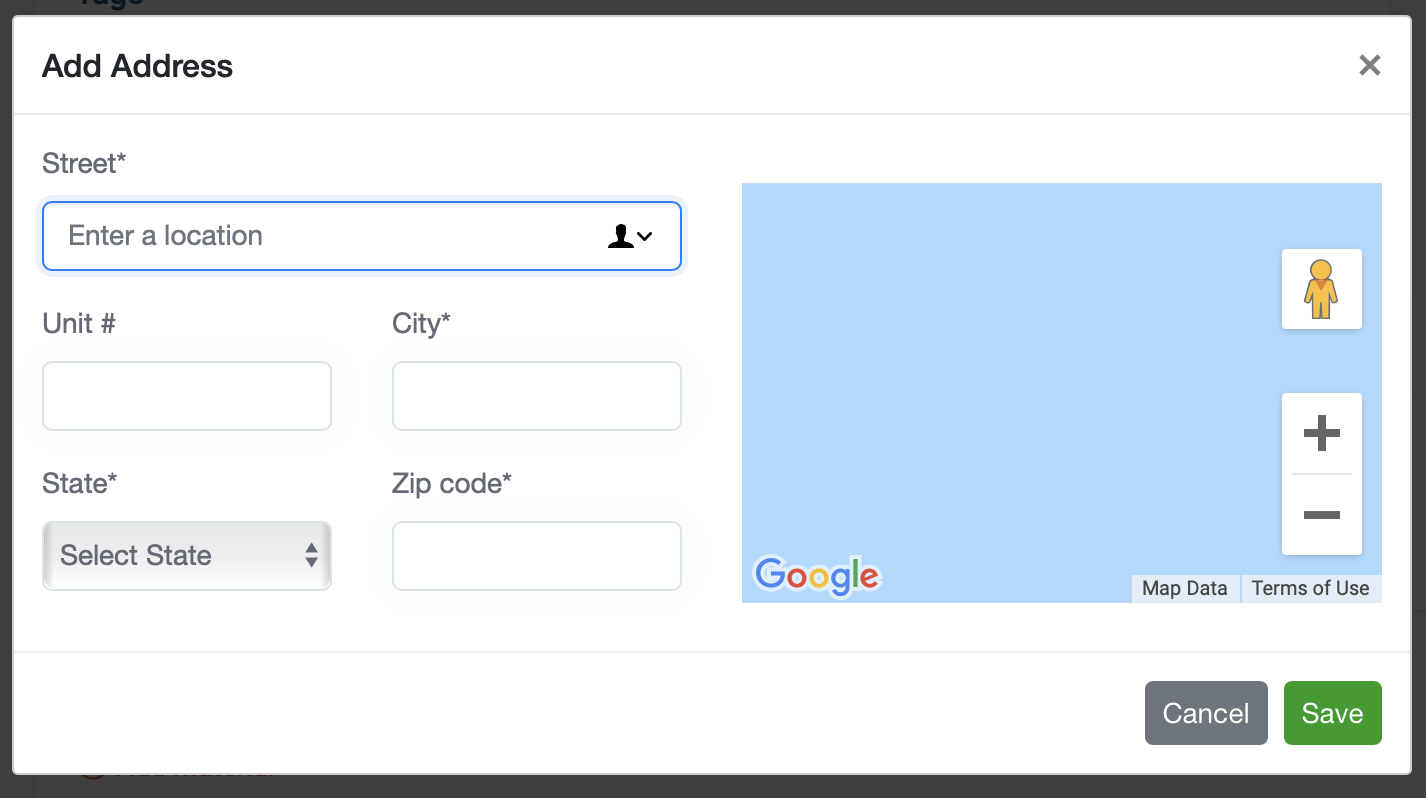
6) The job was created. If you look in the top left corner you will see the job number and the status. Draft means the job has not been scheduled. If you click on the orange gear icon you can change the job number.
![]()
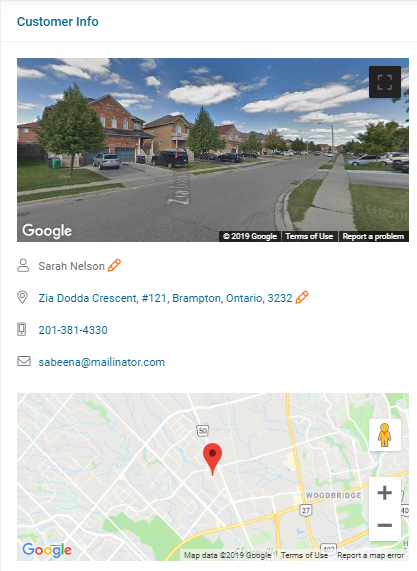
7) The panel located on the left side of the page. Provides some useful information related to the property. You can edit the customer information by clicking on the pencil icon to the right of the customer's name and address.
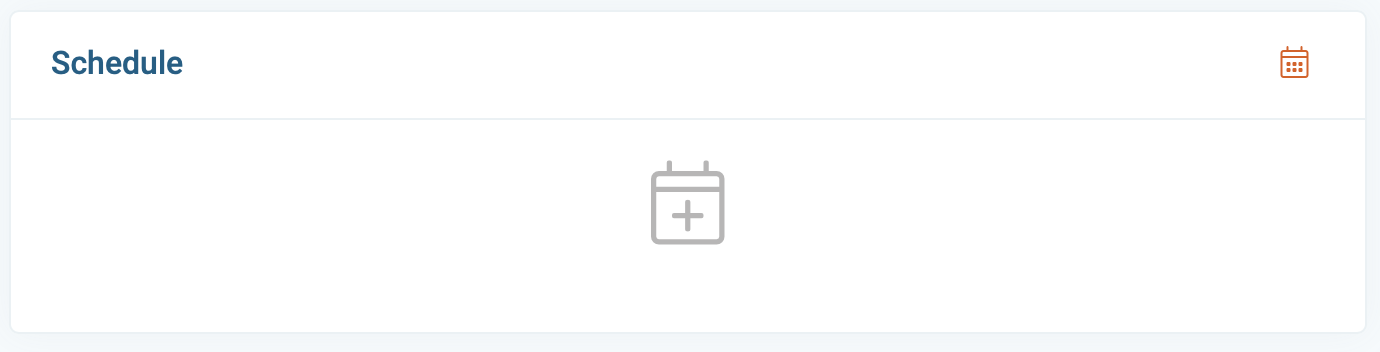
8) The next step is to schedule the job. Click on the schedule icon. If you're not ready to schedule you can always do it at a later time.
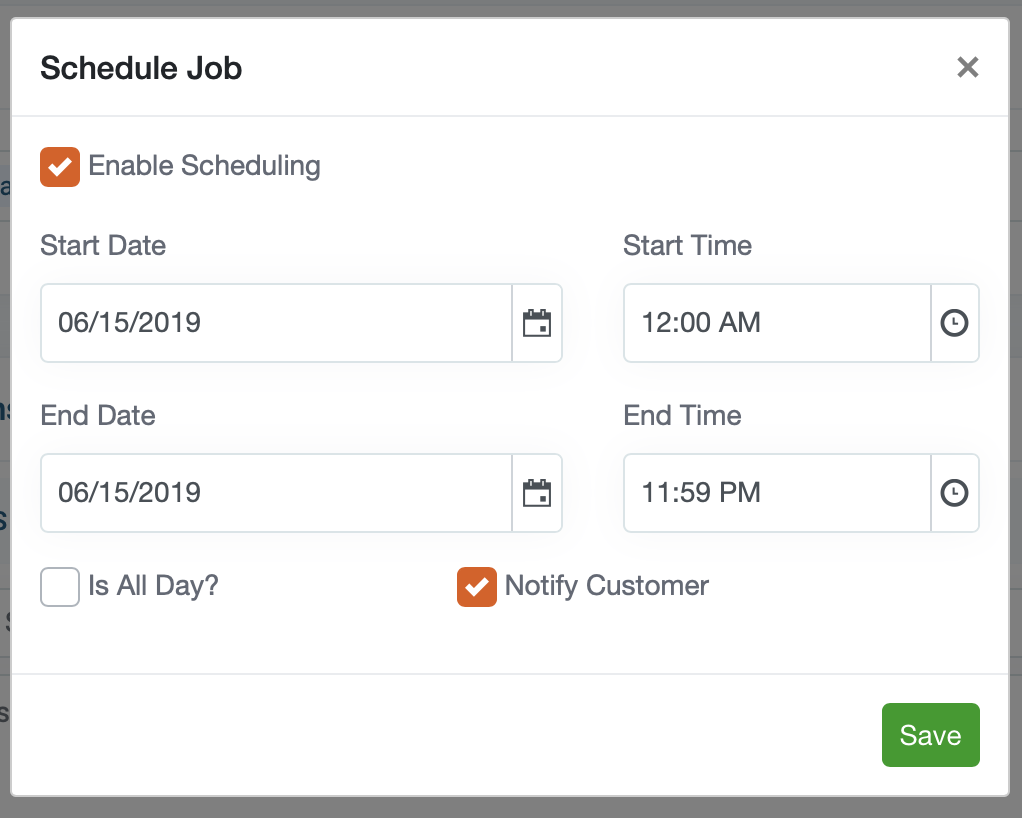
9) Next, make sure the “Enable Scheduling” box is selected in the window that's open in front of you, and select the time and date for starting and ending the job. Choose the “Is all day?” option if you like to block off all the entire day.
“Notify Customer” this option alerts customers via email and SMS message with the date and time the job is scheduled. If you do not want to share this information you can uncheck the box as well. Click “Save” to continue.
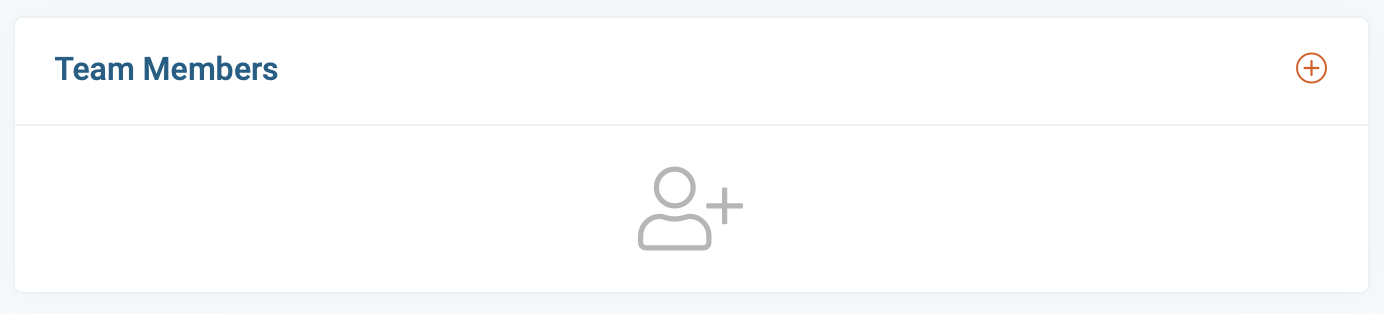
10) The next step is to assign (dispatch) the job to your team members. Click on the + Button in. If your the only user on the account they by default the job will be assigned to you.
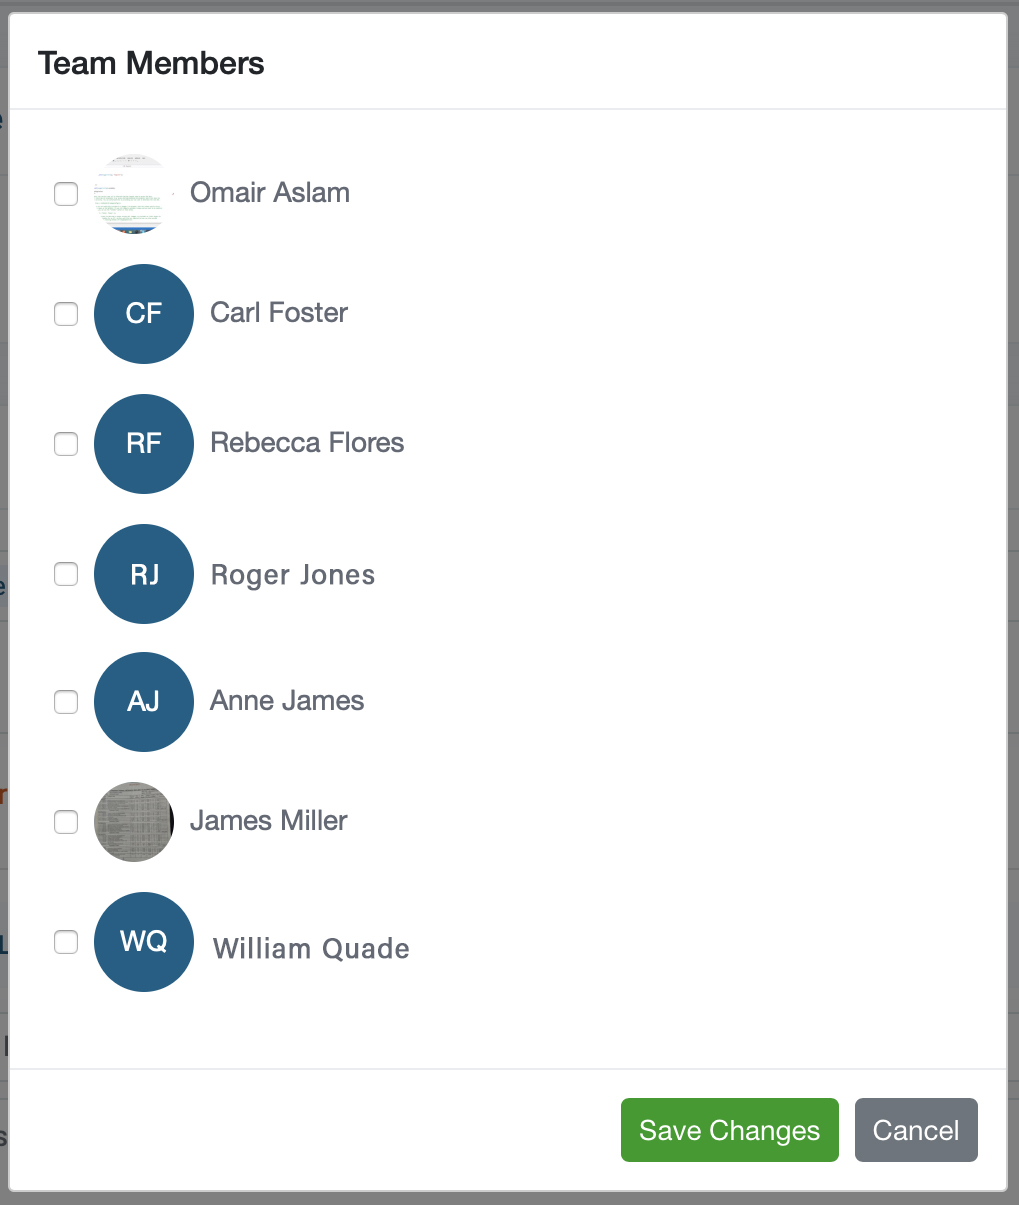
11) A list of team members will appear in front of you. Choose the team members to whom you want to assign the job to, and click the Save button. The job was dispatched.
Note: The assigned team member will receive an email and a push notification with the job details. The job will also appear on their schedule.
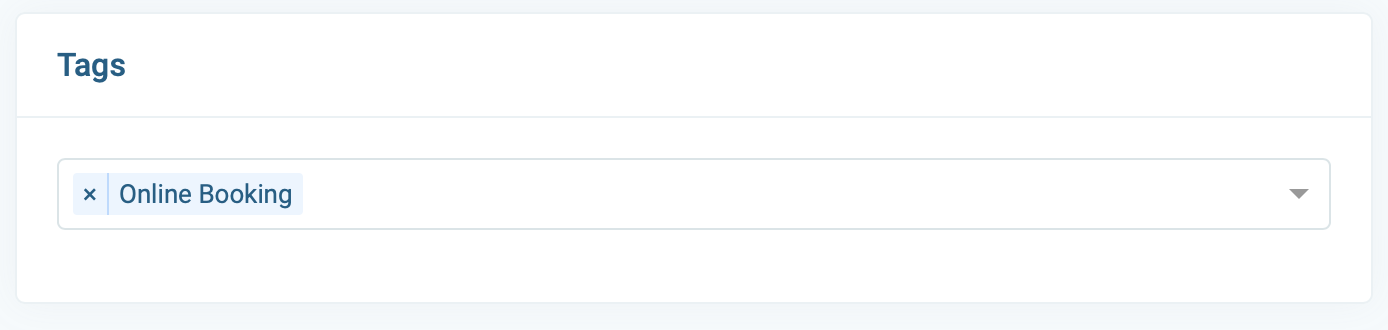
12) Let's add some tags. Tags are internal identifiers (customers cannot see tags) there used for distinguishing specific job details like type of job or lead source. They categorize your jobs and can be used to filter and search within your dashboard reports.
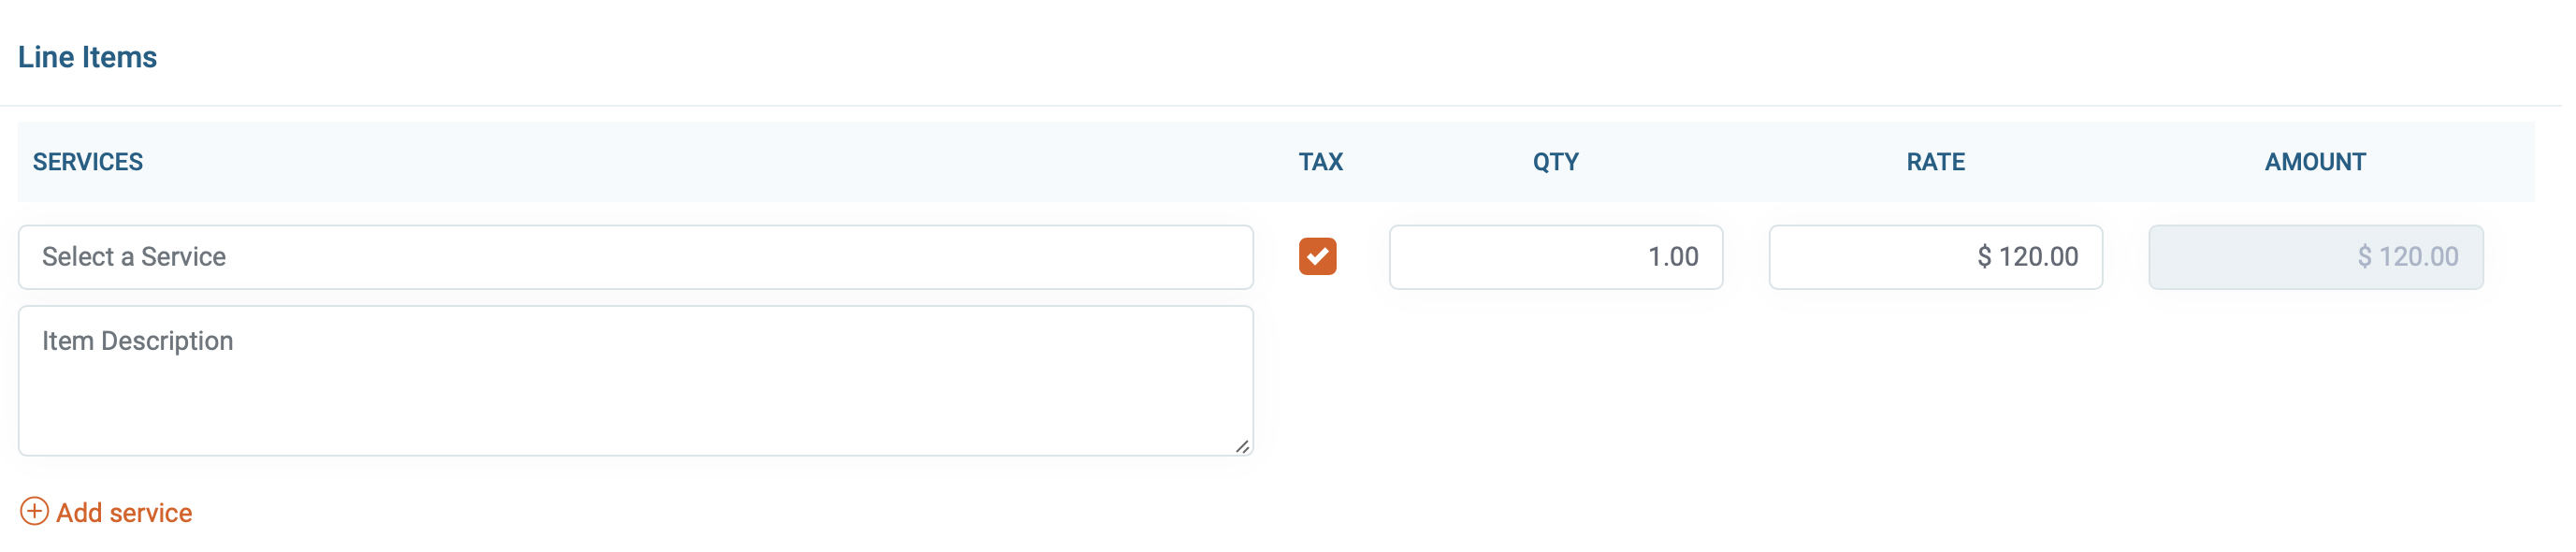
13 ) Next, its time to add line items. Enter the description, quality, and rate. If it's taxable, check the tax box. Click the + add button to add a new line item.
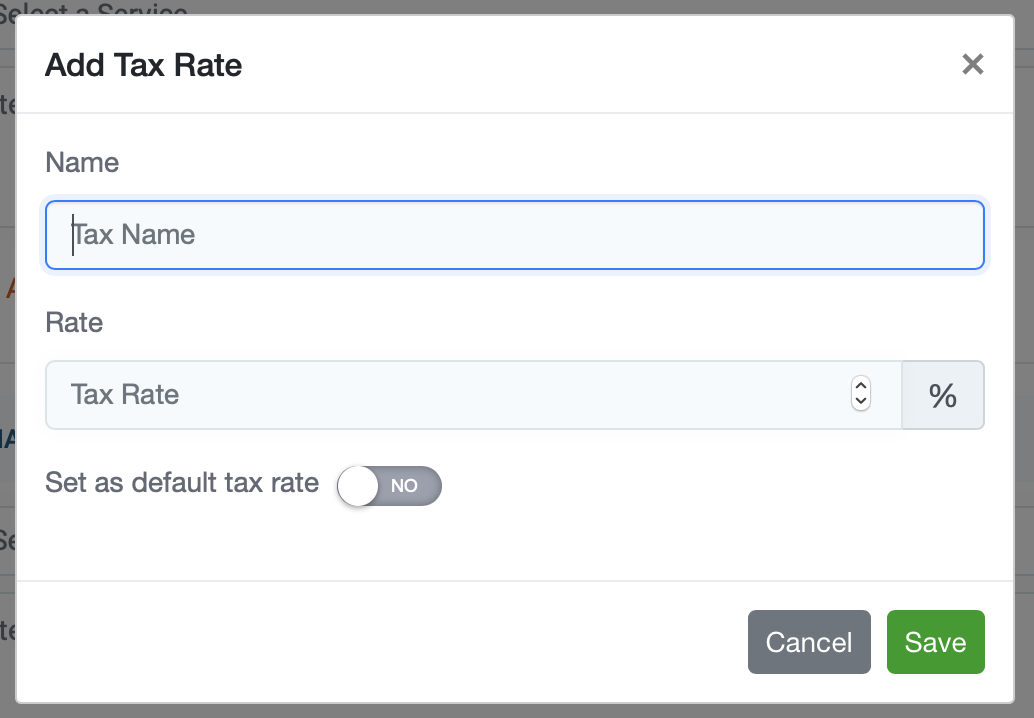
14) Next, choose the “Tax rate” from the drop-down menu. To add a new tax rate click the orange plus sign. You have the option to set the tax rate as default for all future jobs.
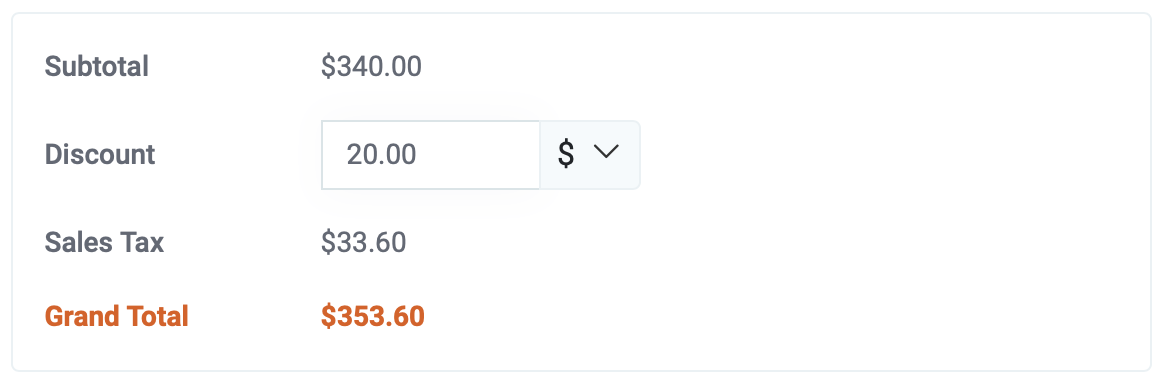
15) The total will be displayed at the bottom right corner of the page, with the option to add a discount. Discounts can be added in the form of a % or a dollar amount.
16) When you're done, save the job by clicking the Save button located in the lower right corner of the page.