Stay organized and informed with notes and attachments. You can attach related job documents, for example, before and after photos, job notes, agreements, receipts, and more. This section will go over how to add, remove, and email attachments.
Step By Step Guide
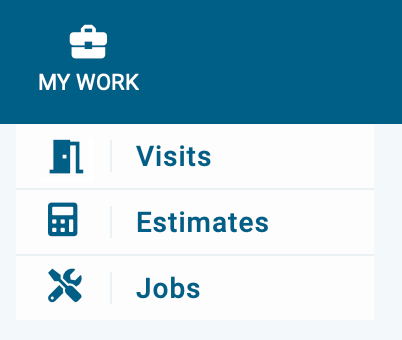
1) First, navigate to the job section, by clicking on My Work located in the top navigation, then choose jobs from the drop-down menu.
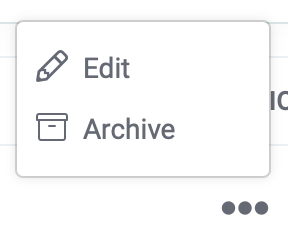
2) Now you're in the Job section. Search and locate the job you plan on adding notes and attachments to. Then click on the three dots located to the far right side. Next, choose Edit from the menu.
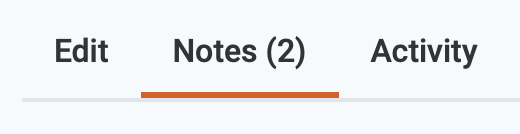
3) Click on the notes tab located on the upper left side of the page.
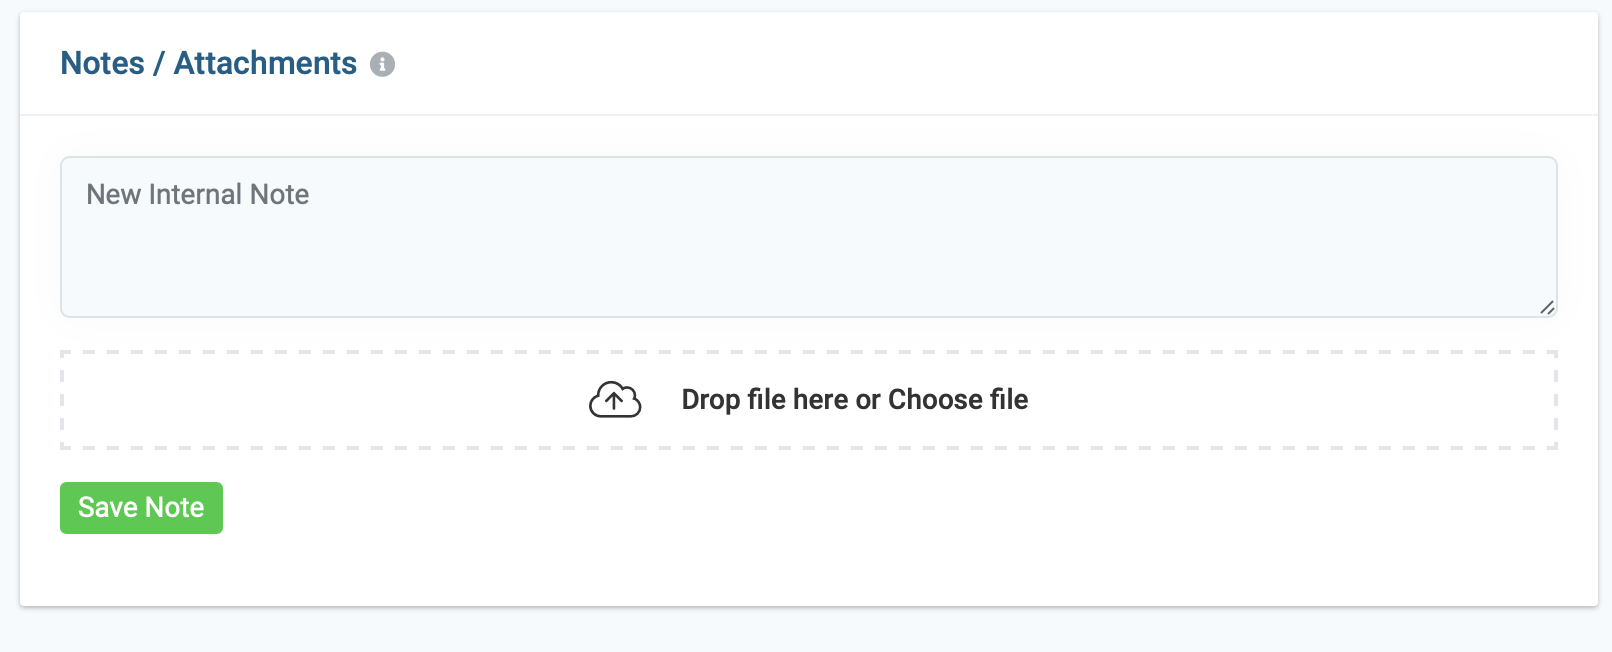
4) Now, add your notes and upload your files.
To add an attachment you can either drag and drop a file directly from your computer into the area labeled "Drop Files Here" or you can click "Choose File" and upload your files from your computer. Click save note when you're finished.
Remove Attachments
1) You can remove attachments by clicking the pencil icon on the right side of the note. Next click on the trash located on the attachment.
Download Attachments
1) You can download attachments by clicking the pencil icon on the right side of the note. Next, click on the down-pointing arrow located on the attachment
Email Attachments
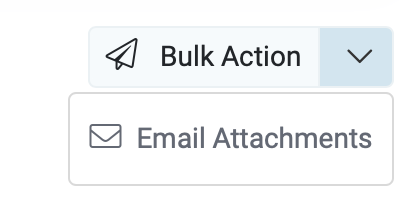
1) You can email attachments by clicking the checkbox located on the attachment. Next, select email attachment from the bulk action drop-down menu.
3) A new window will open. Make sure the correct email address is assigned, add a message, and click the send button. It's that easy!